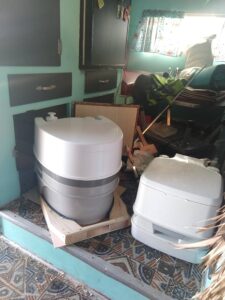
If you remember back to the early COVID days and months; we weren’t supposed to travel and go to public restrooms. The Great Dale 2.0 had the tiniest pull-out camp toilet, which was fine for emergencies and tiny people like Lina Dennison.
However, if we were going to use it full time while camping, we needed a regular-human sized toilet.
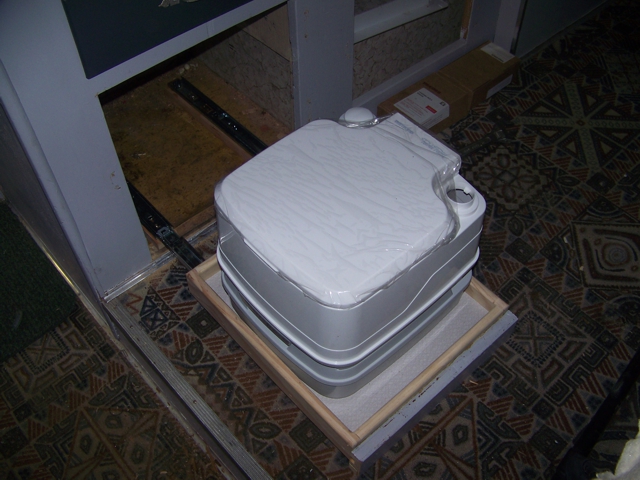
So we bought the toilet and I made the space as big as I could without building new doors. In that process, I disturbed the glue under the floor, which made the carpet feel lumpy and forced us to replace the floor.
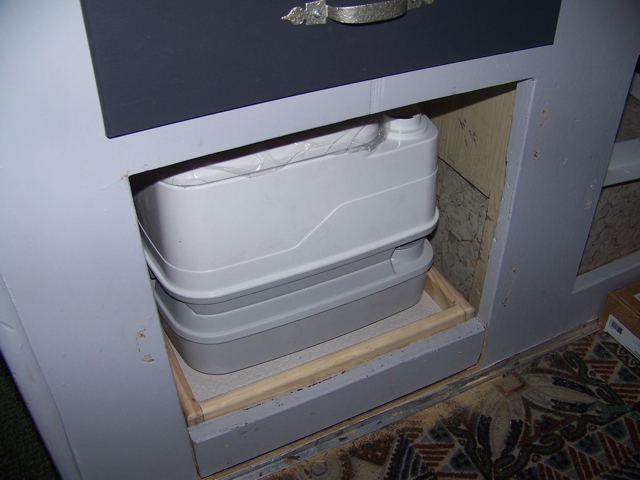
Now that the carpet is gone, I had a lot more room, so I made a custom-sized sled for the toilet, put glider tape on the bottom, and made a false façade when showing off.
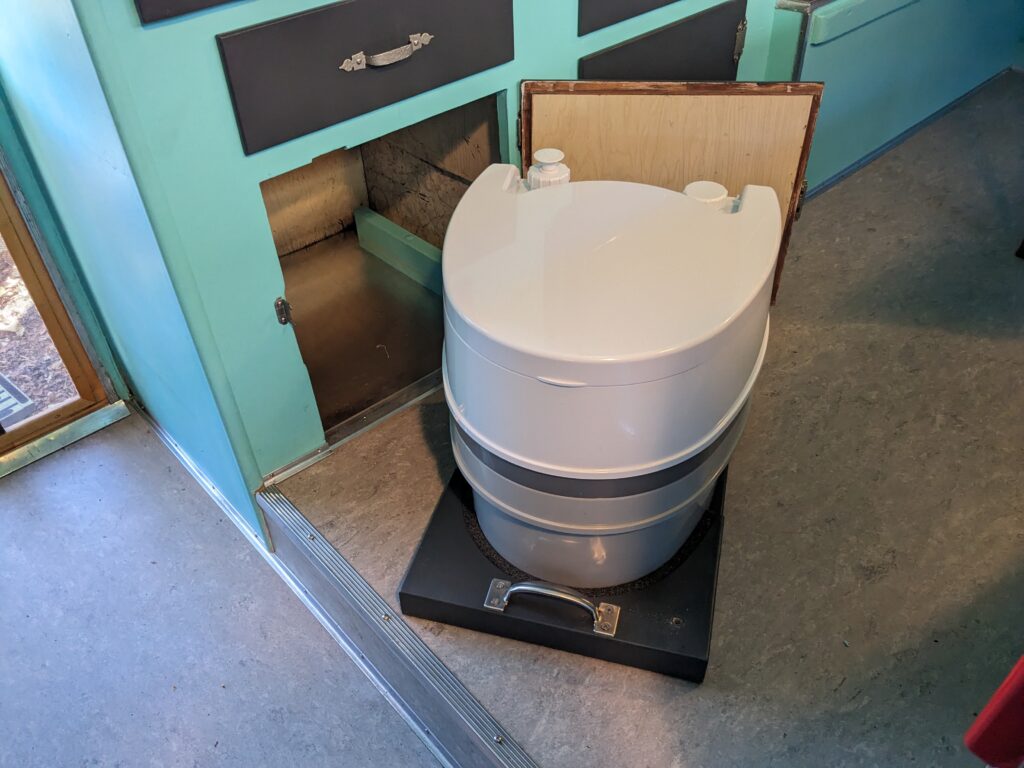


To use the toilet:
Pull of the false front that is held on by magnets
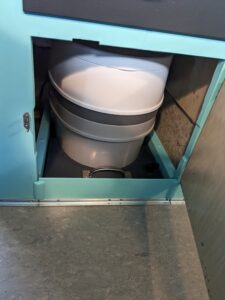
Pull the retaining bolt
Pull the sled out

and get to business.
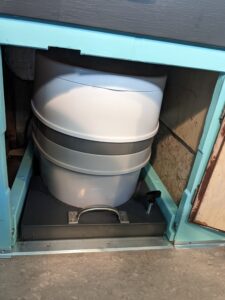
]]>So we removed the carpet with plans to clean and re-install it. That 70-year old carpet turned out to impossible to clean, but we LOVED it. So we took some pictures and tried to re-create it:


We have a digital version of the design, but every test print got worse and worse, so we finally gave up:


So we changed plans and stripped the floor to the original marmoleum, which was in surprisingly good shape:


There were a couple of patches that couldn’t be saved, so all the marmoleum had to go:


Then we filled in some screw holes and installed new-vintage marmoleum:


Then I had to make some trim to cover the gaps created when we transitioned from carpet to marmoleum, which I made out of mahogony:


Then we decided to redo the interior to clean up the gap between the old and new trim location, which meant I also had to polish the trim:


One more thing to add and we’re done!
]]>Now the Great Dale steering is a lot like a normal car. However, I miss the old steering.

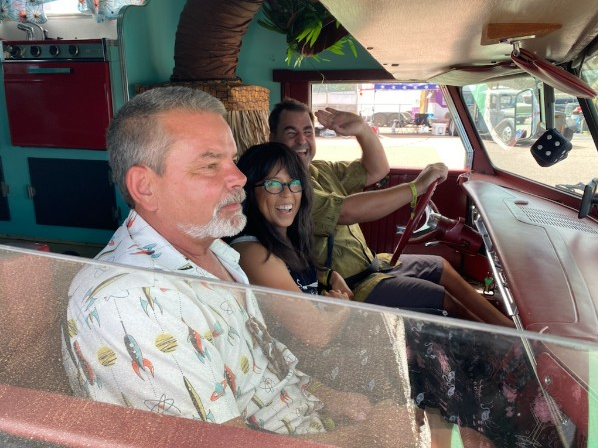
We have been trying to get to the Rock & Rumble for years, but it was always the same week as the Denver Modernism show where we show off the great Dale with a bunch of other trailers with our Friendly Average Campers group. We finally bought tickets a couple of years ago, then COVID happened. Then we bought tickets for last year, which was just in time for another COVID surge. But we finally made it this year.
We went around the track a couple of times before setting up camp:
We were told that anyone can race on the drag strip, so this is our goal for the weekend. We tried to get on the track on Friday, but something was broken. So we gave up and setup camp literally in the middle of the race track right beside the drag race strip…dreams crushed.


There was another brand of housecar parked along with all of the other vintage cars that Lina wanted to race…for pinks, which scared the owner off. However, he did suggest that the two of us could make a coupe of runs around the track together, and that motivated us to break camp and try to race again.
He never showed up, but we did get a couple of races in. We ran both 1/8 mile races in just under 12 seconds and got up to around 65mph by the end of the track.
Here’s the photo as we head out to race:
Here are the Videos from Race #1, that we lost:
We took a couple of laps around the track and it turns out that a couple of Mitchel truck campers followed our lead and raced each other. We got back in line and hoped that they would too so that we could race one them and they agreed. This race we won!
I was watching the Humble Road van building Youtube channel where he installed this unit and it seems like exactly what I needed. So I re-arranged the services area and ran some #6 AWG wire between everything so that the lithium batteries will charge properly while we’re driving automatically. I re-used the existing switch in the dash console so that I can turn it off if I want.


The guy who helped me with the brakes last year recommended I contact Firm Feel and they recommended replacing the stock 0.88″ diameter torsion bars with some 1.12″ racing bars because of the weight. I took his suggestion and started researching how to get the old ones off. This post (https://www.racingjunk.com/news/how-to-adjust-mopar-torsion-bars/) perfectly described the process so I went to work getting the old bars off.
Turned out to be easy, it was barely an inconvenience. Tapped each side with a hammer, juiced them up with some penetrating oil, and heated each side up a little before clamping my harbor freight vice grips to the bars. There wasn’t a lot of room for the hammer, but they came out pretty easy.
The bars are labelled left and right, so I did some more research to find out that left and right for car parts are determined by sitting in the car and looking left and right. Once that was sorted, I greased up the new bar and inserted into the hole and started tapping the end to push it through. Things were going smoothly until it just stopped a couple of mm shy of where it needed to go. No amount of Hulk-Smash would make it go in any further.
I didn’t know what the problem was, so I decided to try the other side to see what I did wrong. I thought the first one might not have been aligned correctly, so I asked Lina for help on the second one. It did seem that the bar wasn’t wasn’t quite aligned properly, so I adjusted the lower control arm side until it seemed to align perfectly. In went in like butter and was actually a little too far in.
So I went back to the first one and tried to knock it back out so I could try the alignment trick. IT WOULD NOT BUDGE! I went to Harbor Freight to get a bigger vice grip that didn’t help at all. Then I kludged together a clamping system using U-bolts and aluminum angle iron, but that didn’t help either. I was starting to panic.
I had to wait until Monday to contact Firm Feel, who said that the problem might be that there was too much powder coating on the ends and that I just had to beat on it harder to get it out, sand the ends, and then put it back in.
They make specialized torsion bar removal tools like this one:
But I was a little scared that this would never come free and didn’t want to wait another week, so I made my own.


And it worked like a charm! I was able to get the bar out and then I sanded the edges:


I greased up the ends and they went in like butter.


We were able to raise the front end an inch and it hasn’t bottomed-out on the speed bumps and dips in the neighborhood. It also doesn’t bottom out coming on and off the driveway’s California curb, so it seems to be working great!
]]>The disks were fine, but I couldn’t let it go like that once I knew about it, so three different mechanics tried to fix the problem and failed. I decided to stop throwing labor costs at it and replaced the entire front brake system myself and replaced the front calipers, brake hoses, brake lines, proportioning valve, and the master cylinder. It turns out that all retail master cylinders that fit on the 1965 Dodge coronet have a residual valve that keeps pressure on the system and I needed to get a custom one installed instead. That information would have saved me a lot of work.
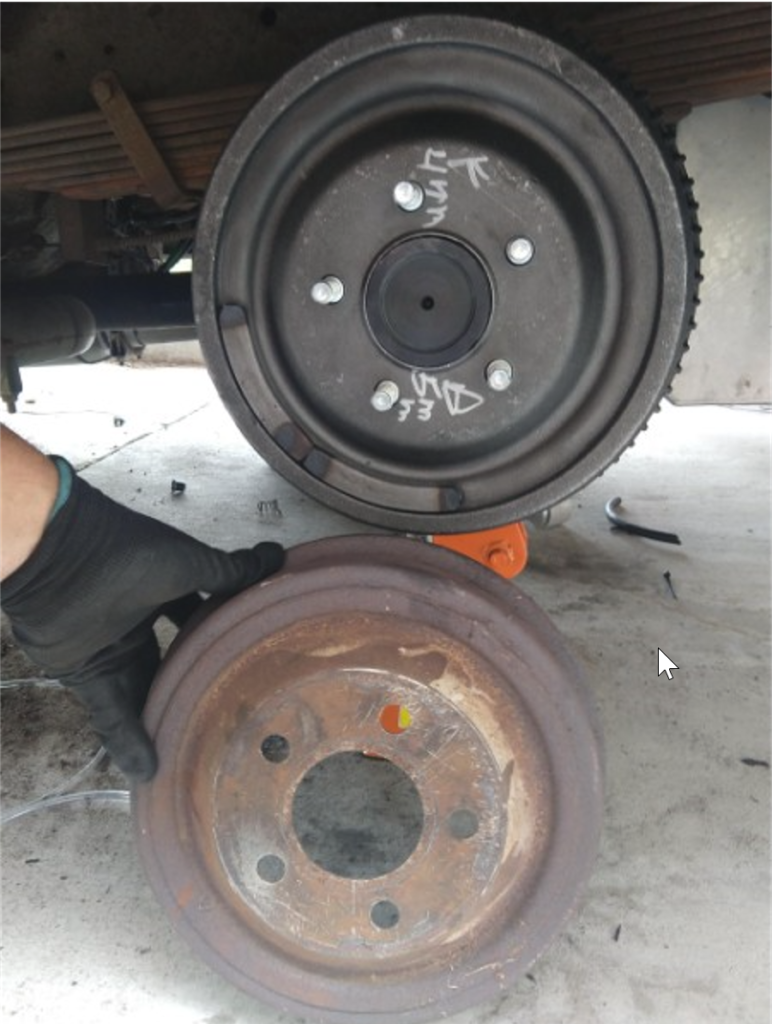
I finally installed the correct master cylinder and the problem went away, but now my braking power was easily cut in half. Seeing how the front end was all brand new, I assumed the problem was somewhere in the rear brakes. I wanted to replace the original drum brakes with disk brakes, but conversion kits for dodge trucks with a 489 axle are hard to come by. I finally thought I found the right kit, but the seller talked me out of it and send me some real truck drum assemblies and axles. I also replaced the rear axles because the adjustment was locked and they didn’t seem to be adjusted correctly.
The new drums are HUGE compared to the existing ones, and I found out the original brake pistons were different sizes when I dis-assembled them. However, nothing on the rear axle could be original because they didn’t start making 489 axles until 1969, but the Great Dale was built in 1966. So who knows when that axle and brakes.
The new brake system works better, but not as good as when the brakes were always on a little bit. The braking power will probably increase when the new pads wear to the disks and drums.
I thought I was done and we were putting the Dale away for the season when I noticed that one of the rear parking brake cables broke. This wasn’t too surprising seeing how they are over 50 years old, but a pain. I starting digging in to how I was going to replace the cables and noticed that they were touching the exhaust in several places. AHA! This explains the chattering when idling. The cables and cable junctions were tapping on the exhaust!

I decided to route the cables around the exhaust system and spent a terrible day under the Dale planning and measuring the specs for the new cable system:

The kind people at Madison Power Systems built me a super-duper heavy duty cable and the installation was a pain, but worked out as I planned…until two (or three) of the four cable sheath mounting tube broke when I applied the final torque. I think the system will work as-is for now, but it definitely won’t last another 60 years and I’ll have to replace most of the system again, with a few modifications.
]]>I bought it just before the COVID crisis, so it was reasonably priced with free shipping. I was also able to get some custom features so it fit in the space I had available. That meant that I needed a new charger and decided to buy a proper inverter special made for lithium batteries.
The previous charging system was connected to the front car battery as well, which wasn’t a good idea with the lithium setup because the batteries charge and operate at different voltages. The voltage drop across the conductor probably would have made it fine, but I decided to get a cheap battery charger from Harbor freight.
The two battery systems can be tied together via a switch beside the radio and a switch by the utilities, which switches between the new battery charger and the lithium batteries so that I can keep them charged while I am driving.
The area is a mess because every part of it was an experiment. I feel sorry for the person who follows me!


The Emily Griffith Technical College did have an upholstery program, but I couldn’t get anyone to confirm that I would learn how to build a bench seat. I almost dropped out, but at the last minute decided to give it a try. Turns out it not a traditional class. You bring in an upholstery project and the instructor just bounces from project to project giving specific help for whatever stage you happen to be at.
Most of the other students projects involved recovering a couch or love seat. One guy was recovering his classic car seats, another woman was recovering boat cushions, and another woman was making blackout curtains. One poor woman spent three classes removing the staples from her project. Everyone seemed to be really impressed that I was building mine from scratch.
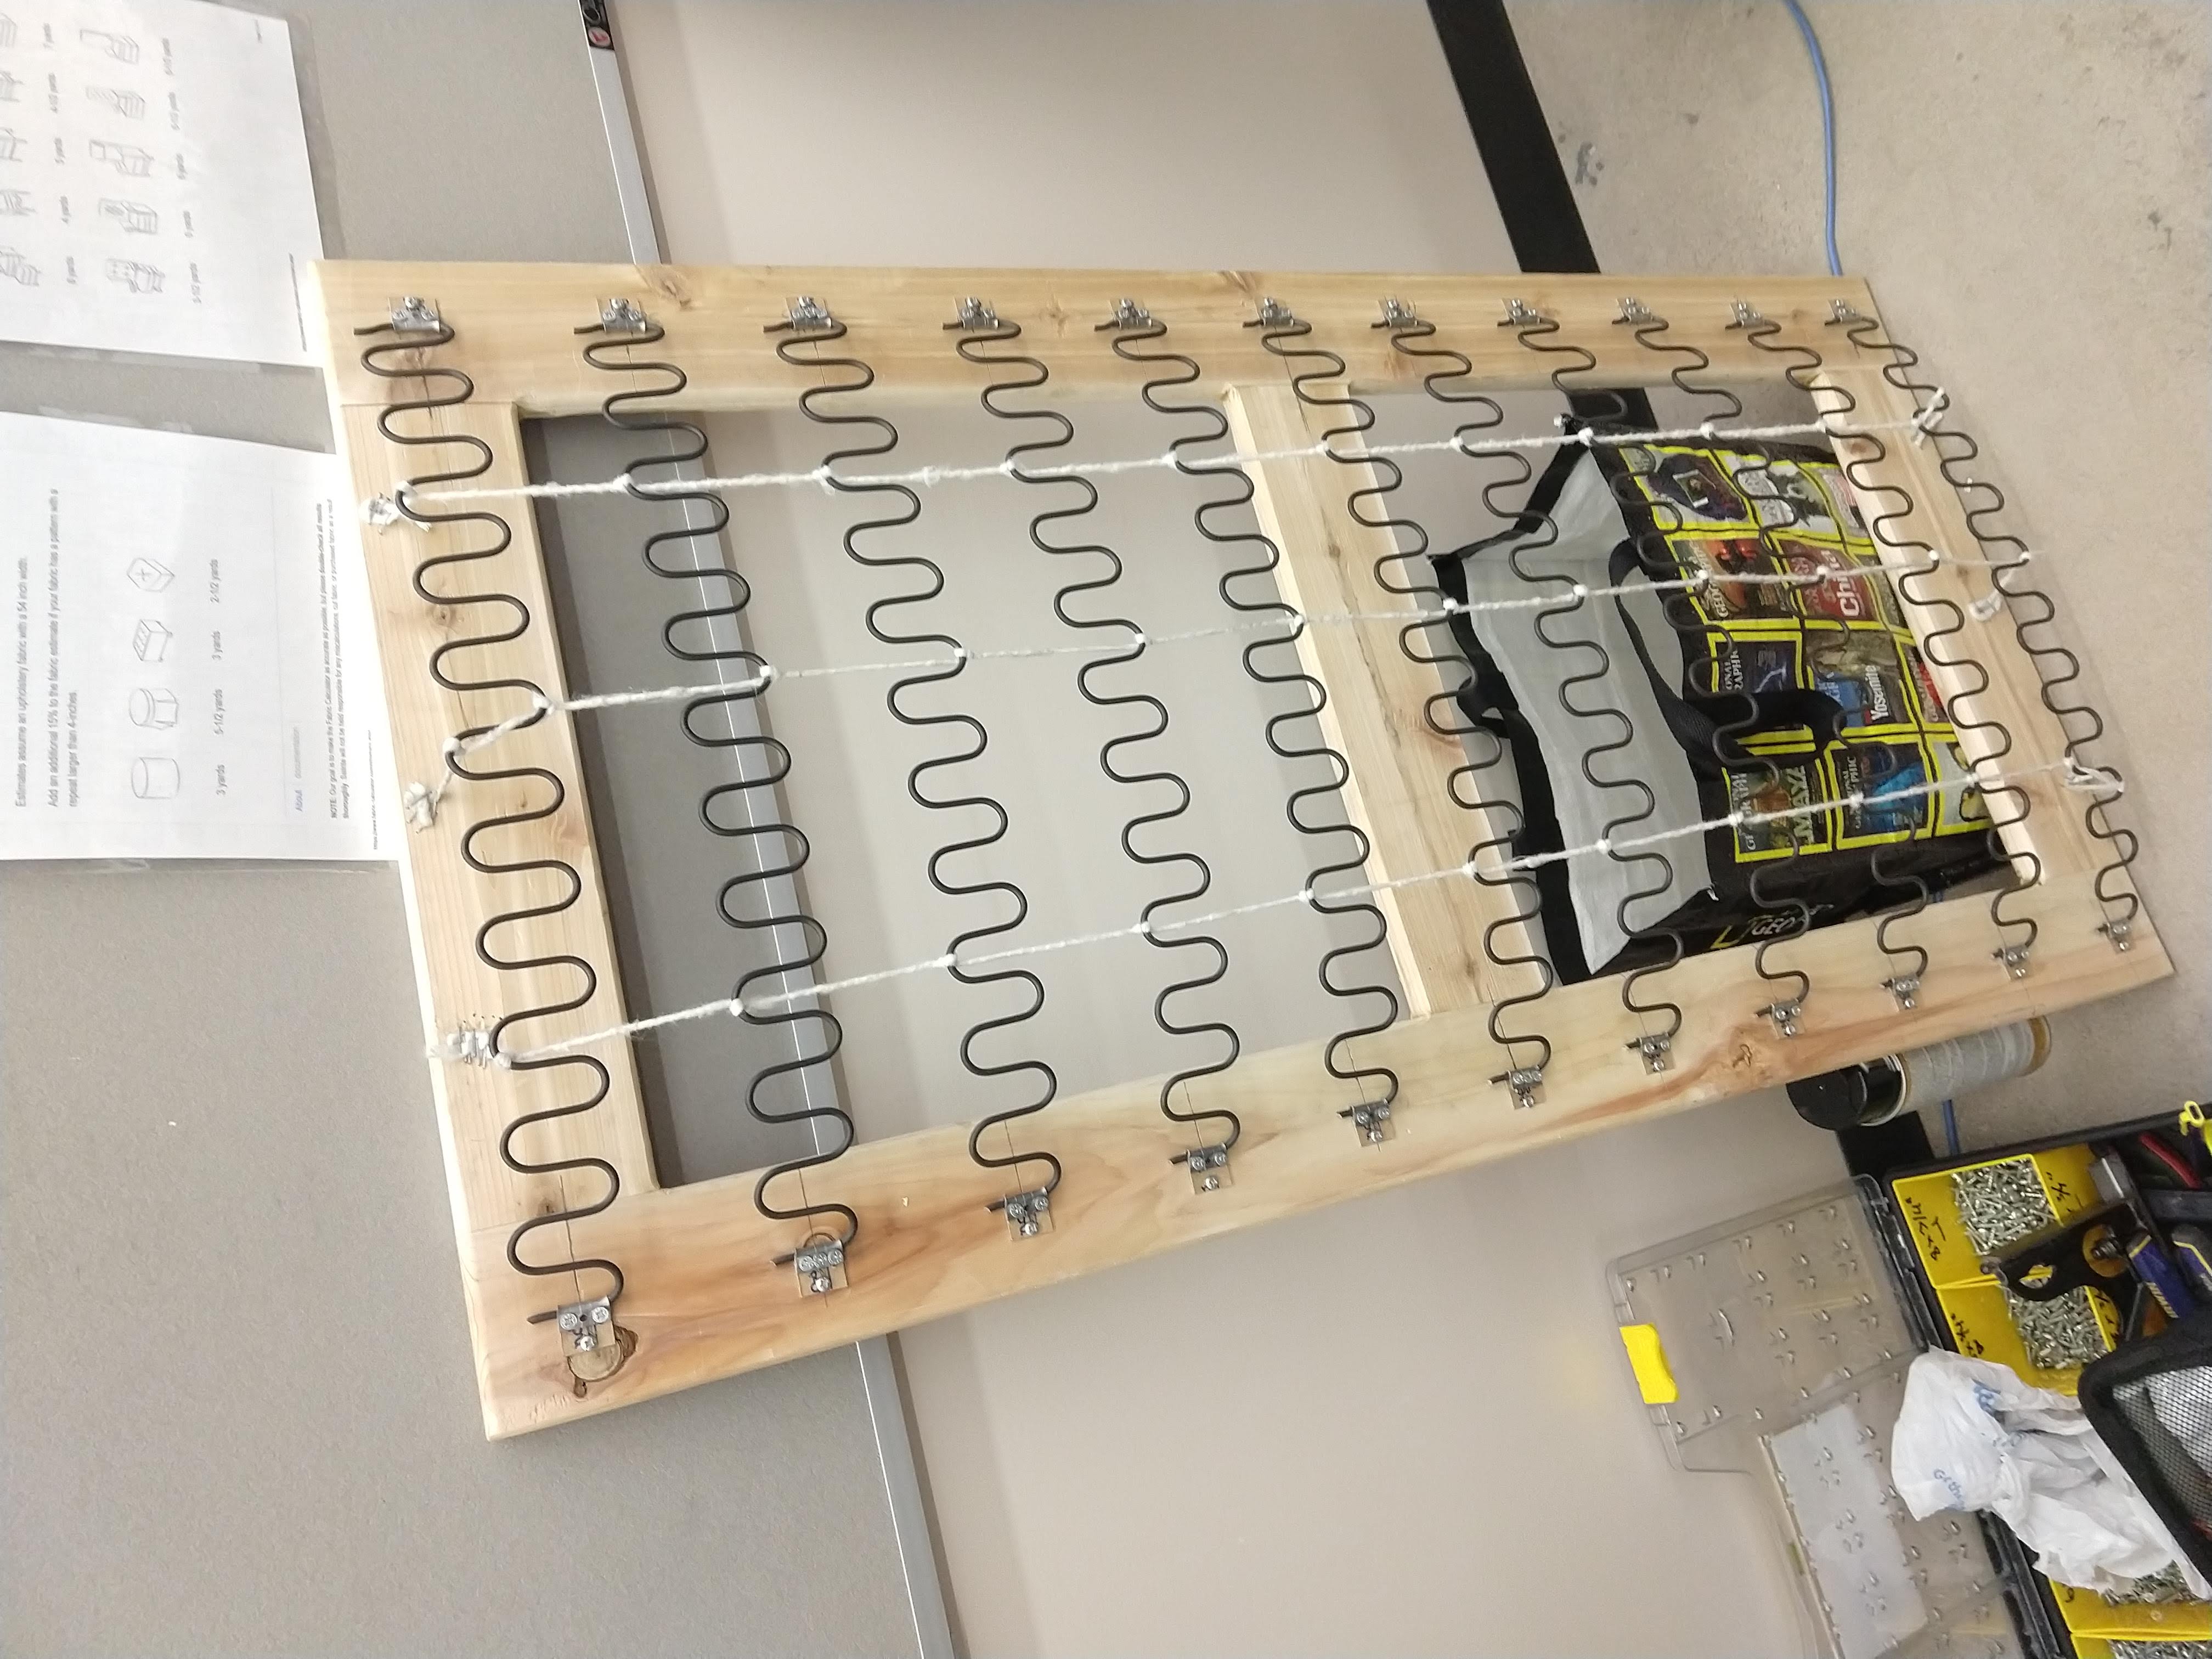
I started by building frames out of cedar in my shop. Then I brought the frames to the class where the instructor showed me how to add the springs and tie them down:
Then I added 3″ of foam and some dacron to smooth everything out. The instructor explained that dacron was the crumb coat of the upholstery world.

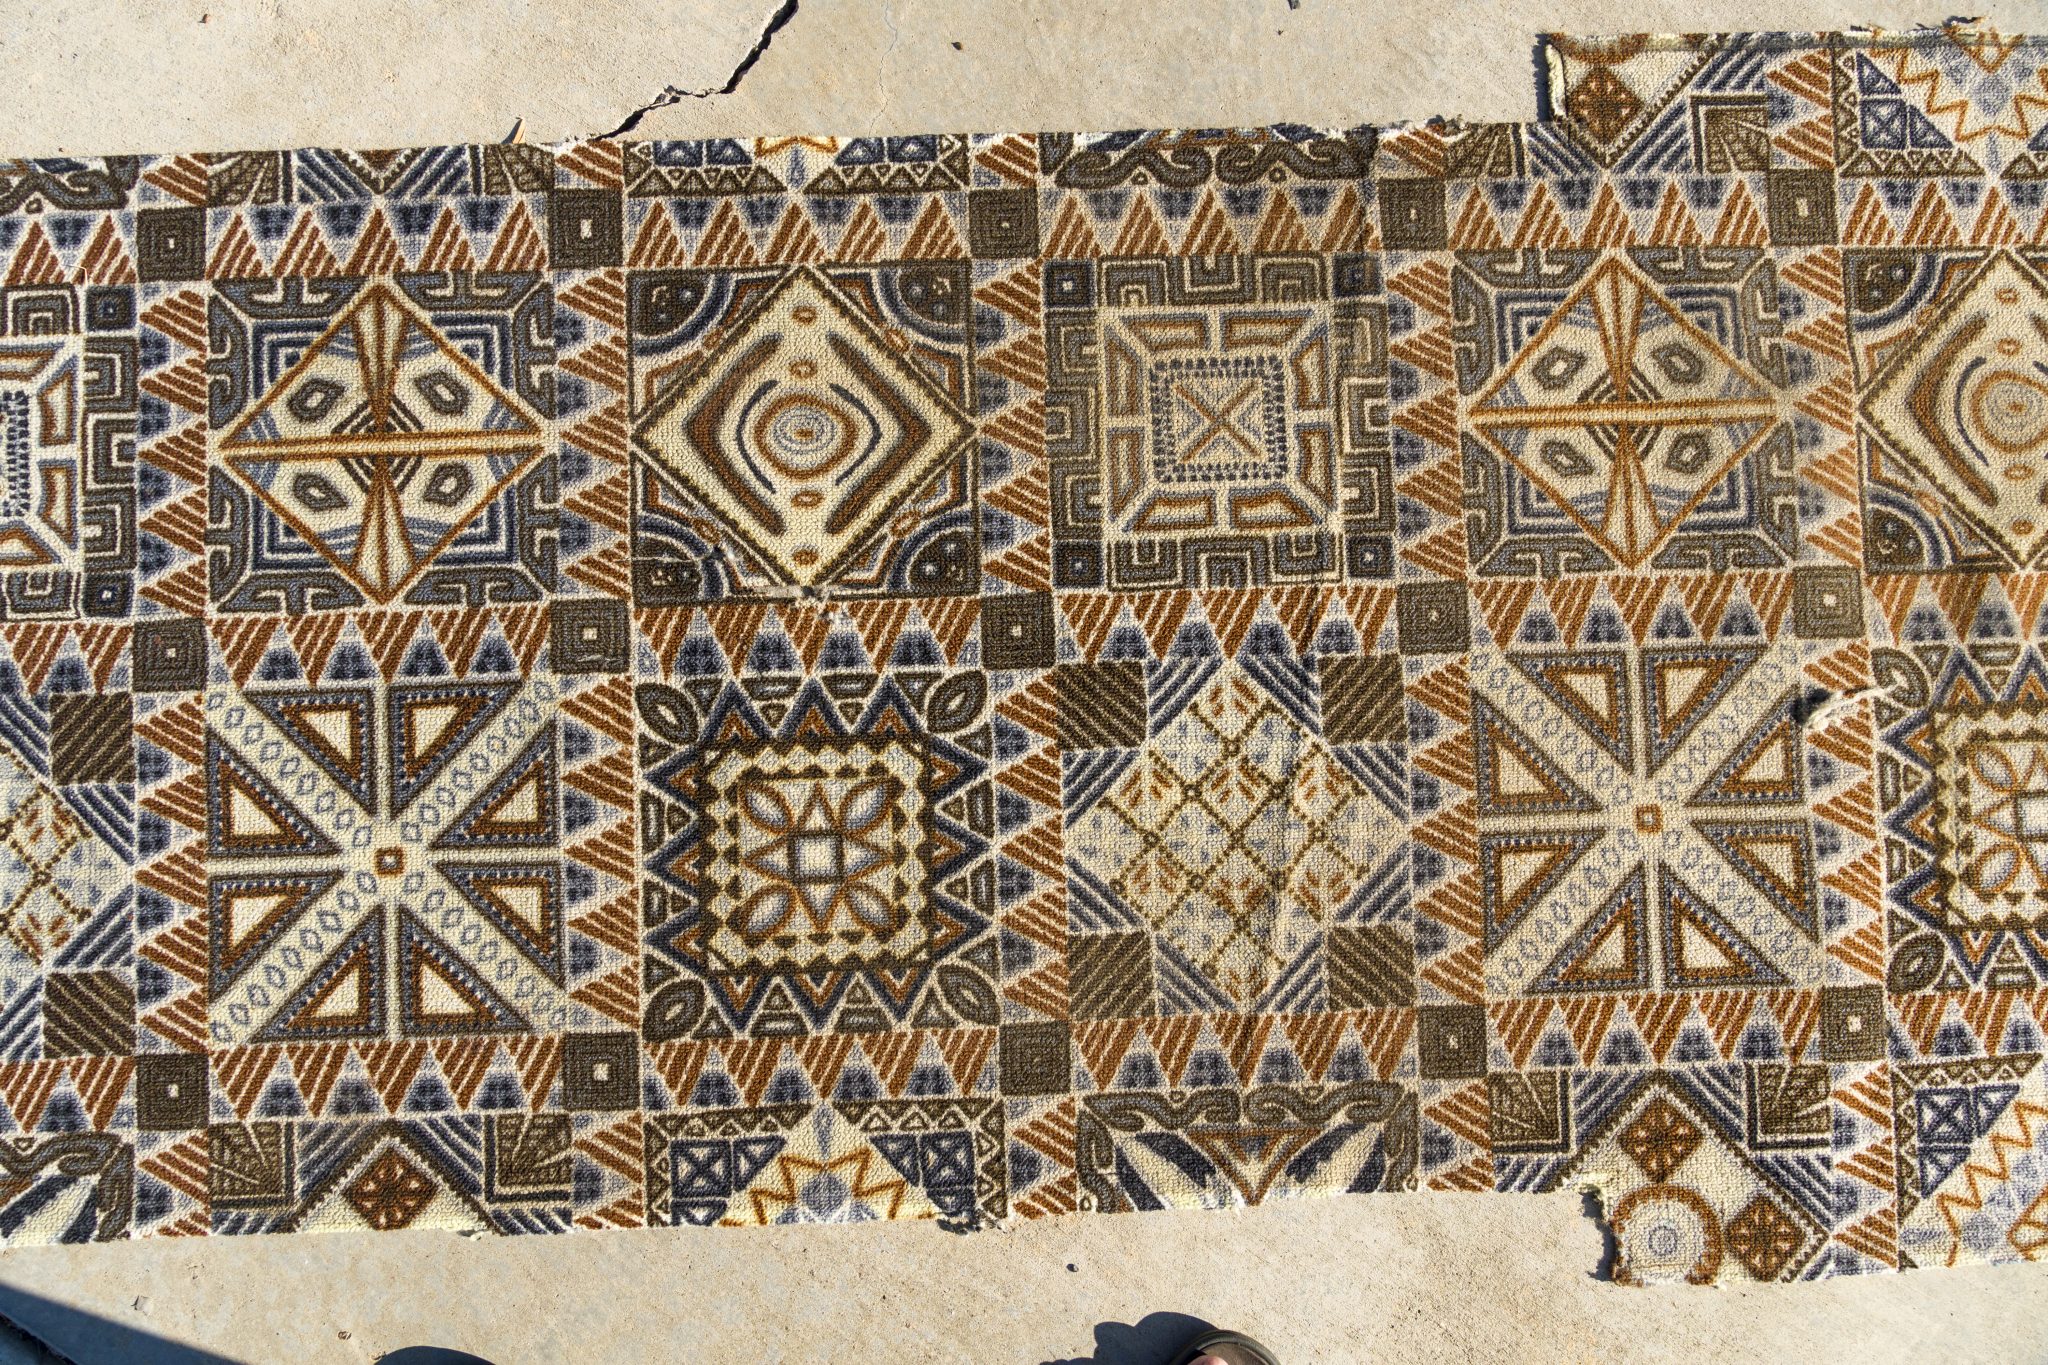
Then we measured the form and I sewed some covers from with a red vinyl to match the front seats of the Great Dale with some black piping. I was originally going to make the same style as the front seats, but I decided it wasn’t sleek enough (or that it would be too hard).
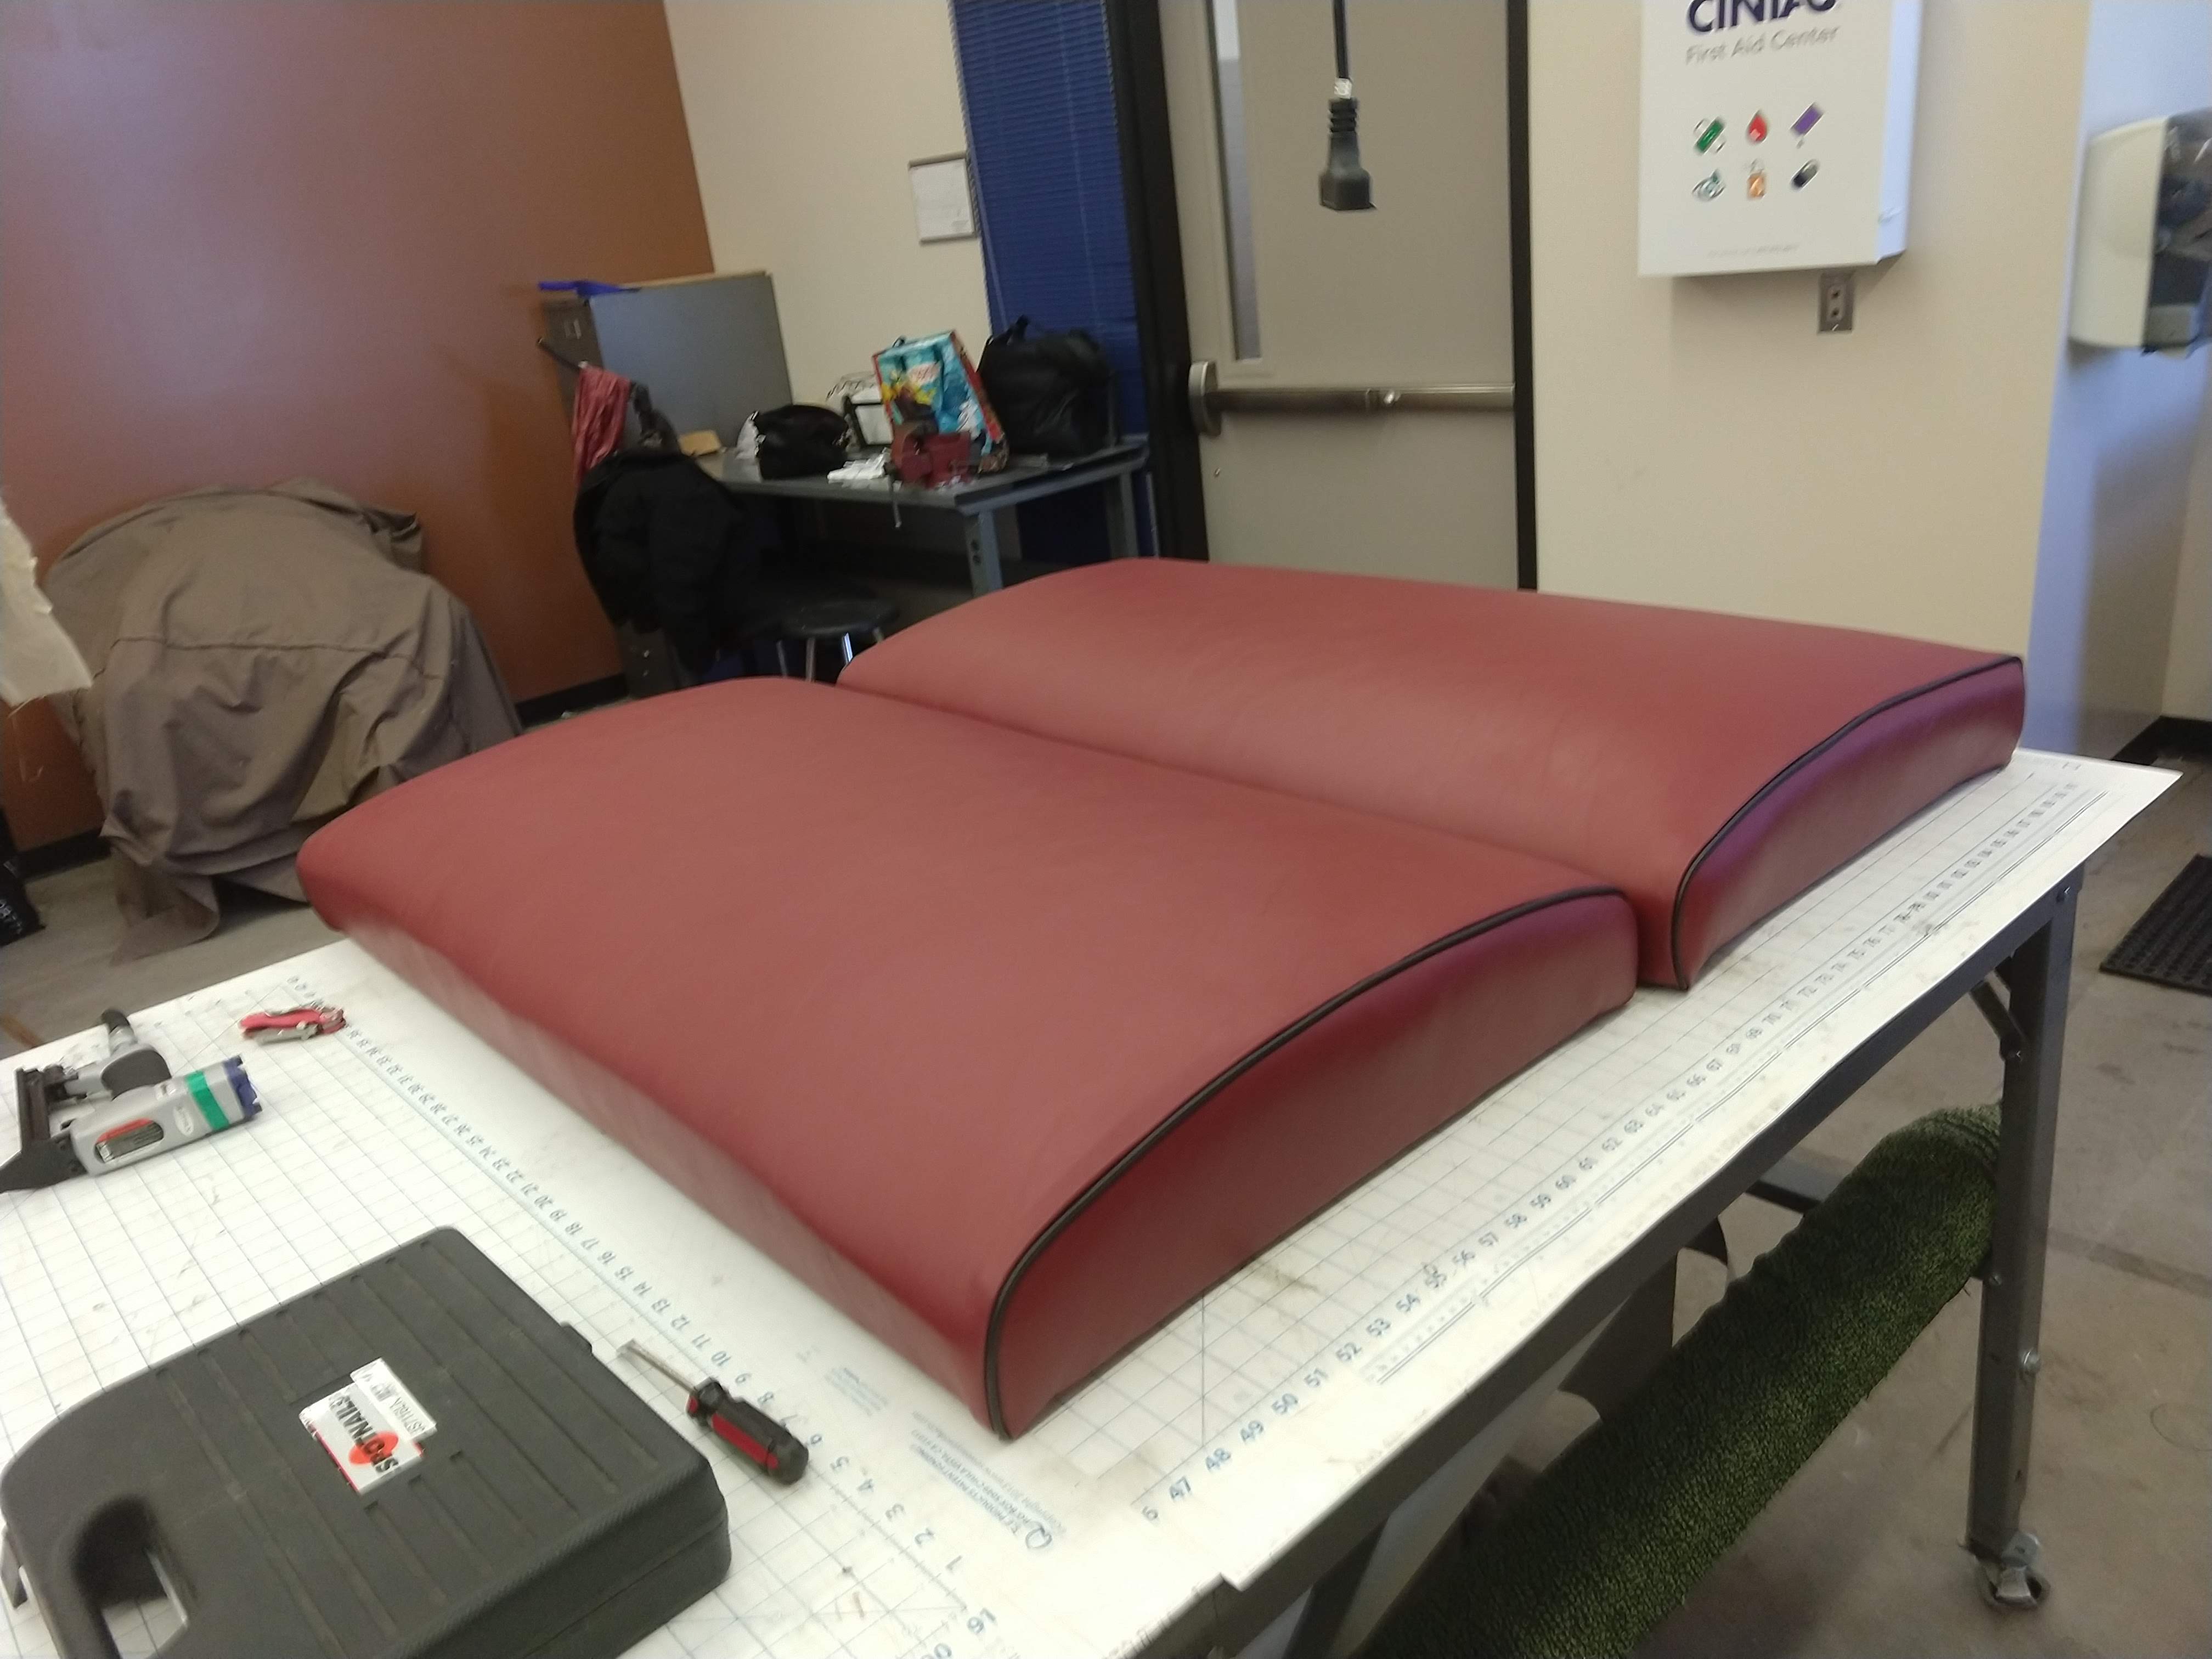

Of course the two sides weren’t the same, so I measured it again and made a custom set on the other side.
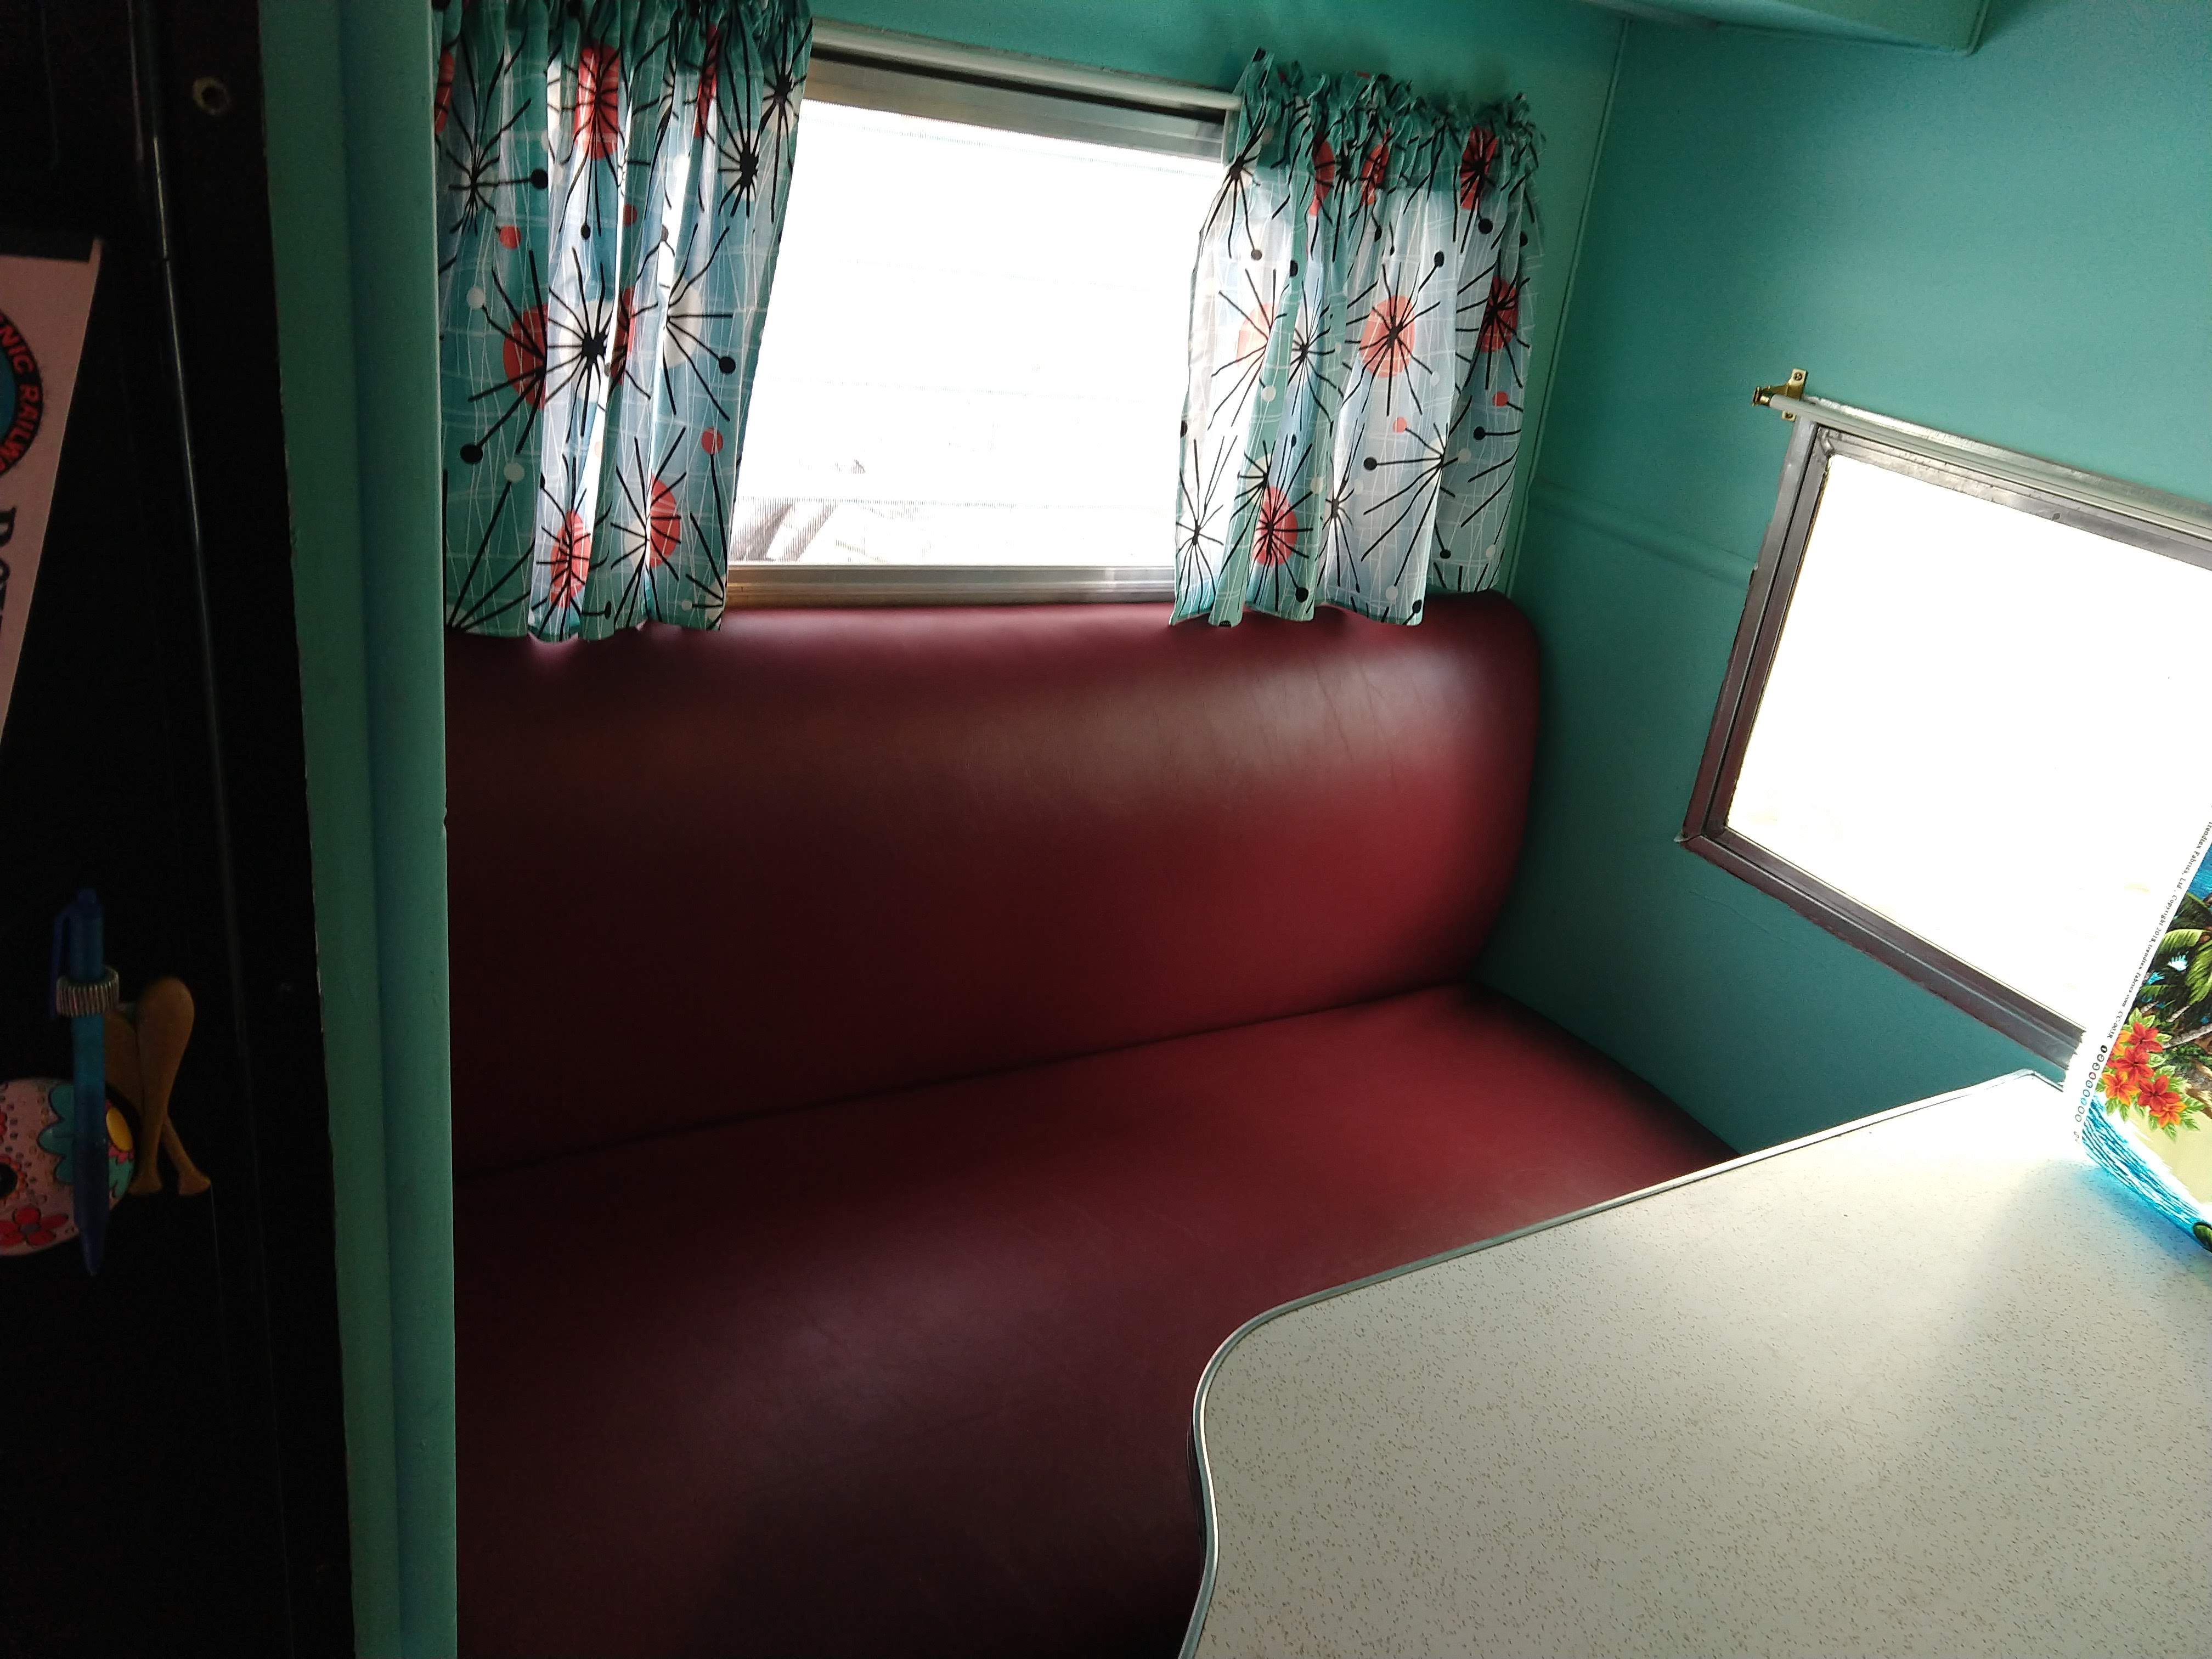
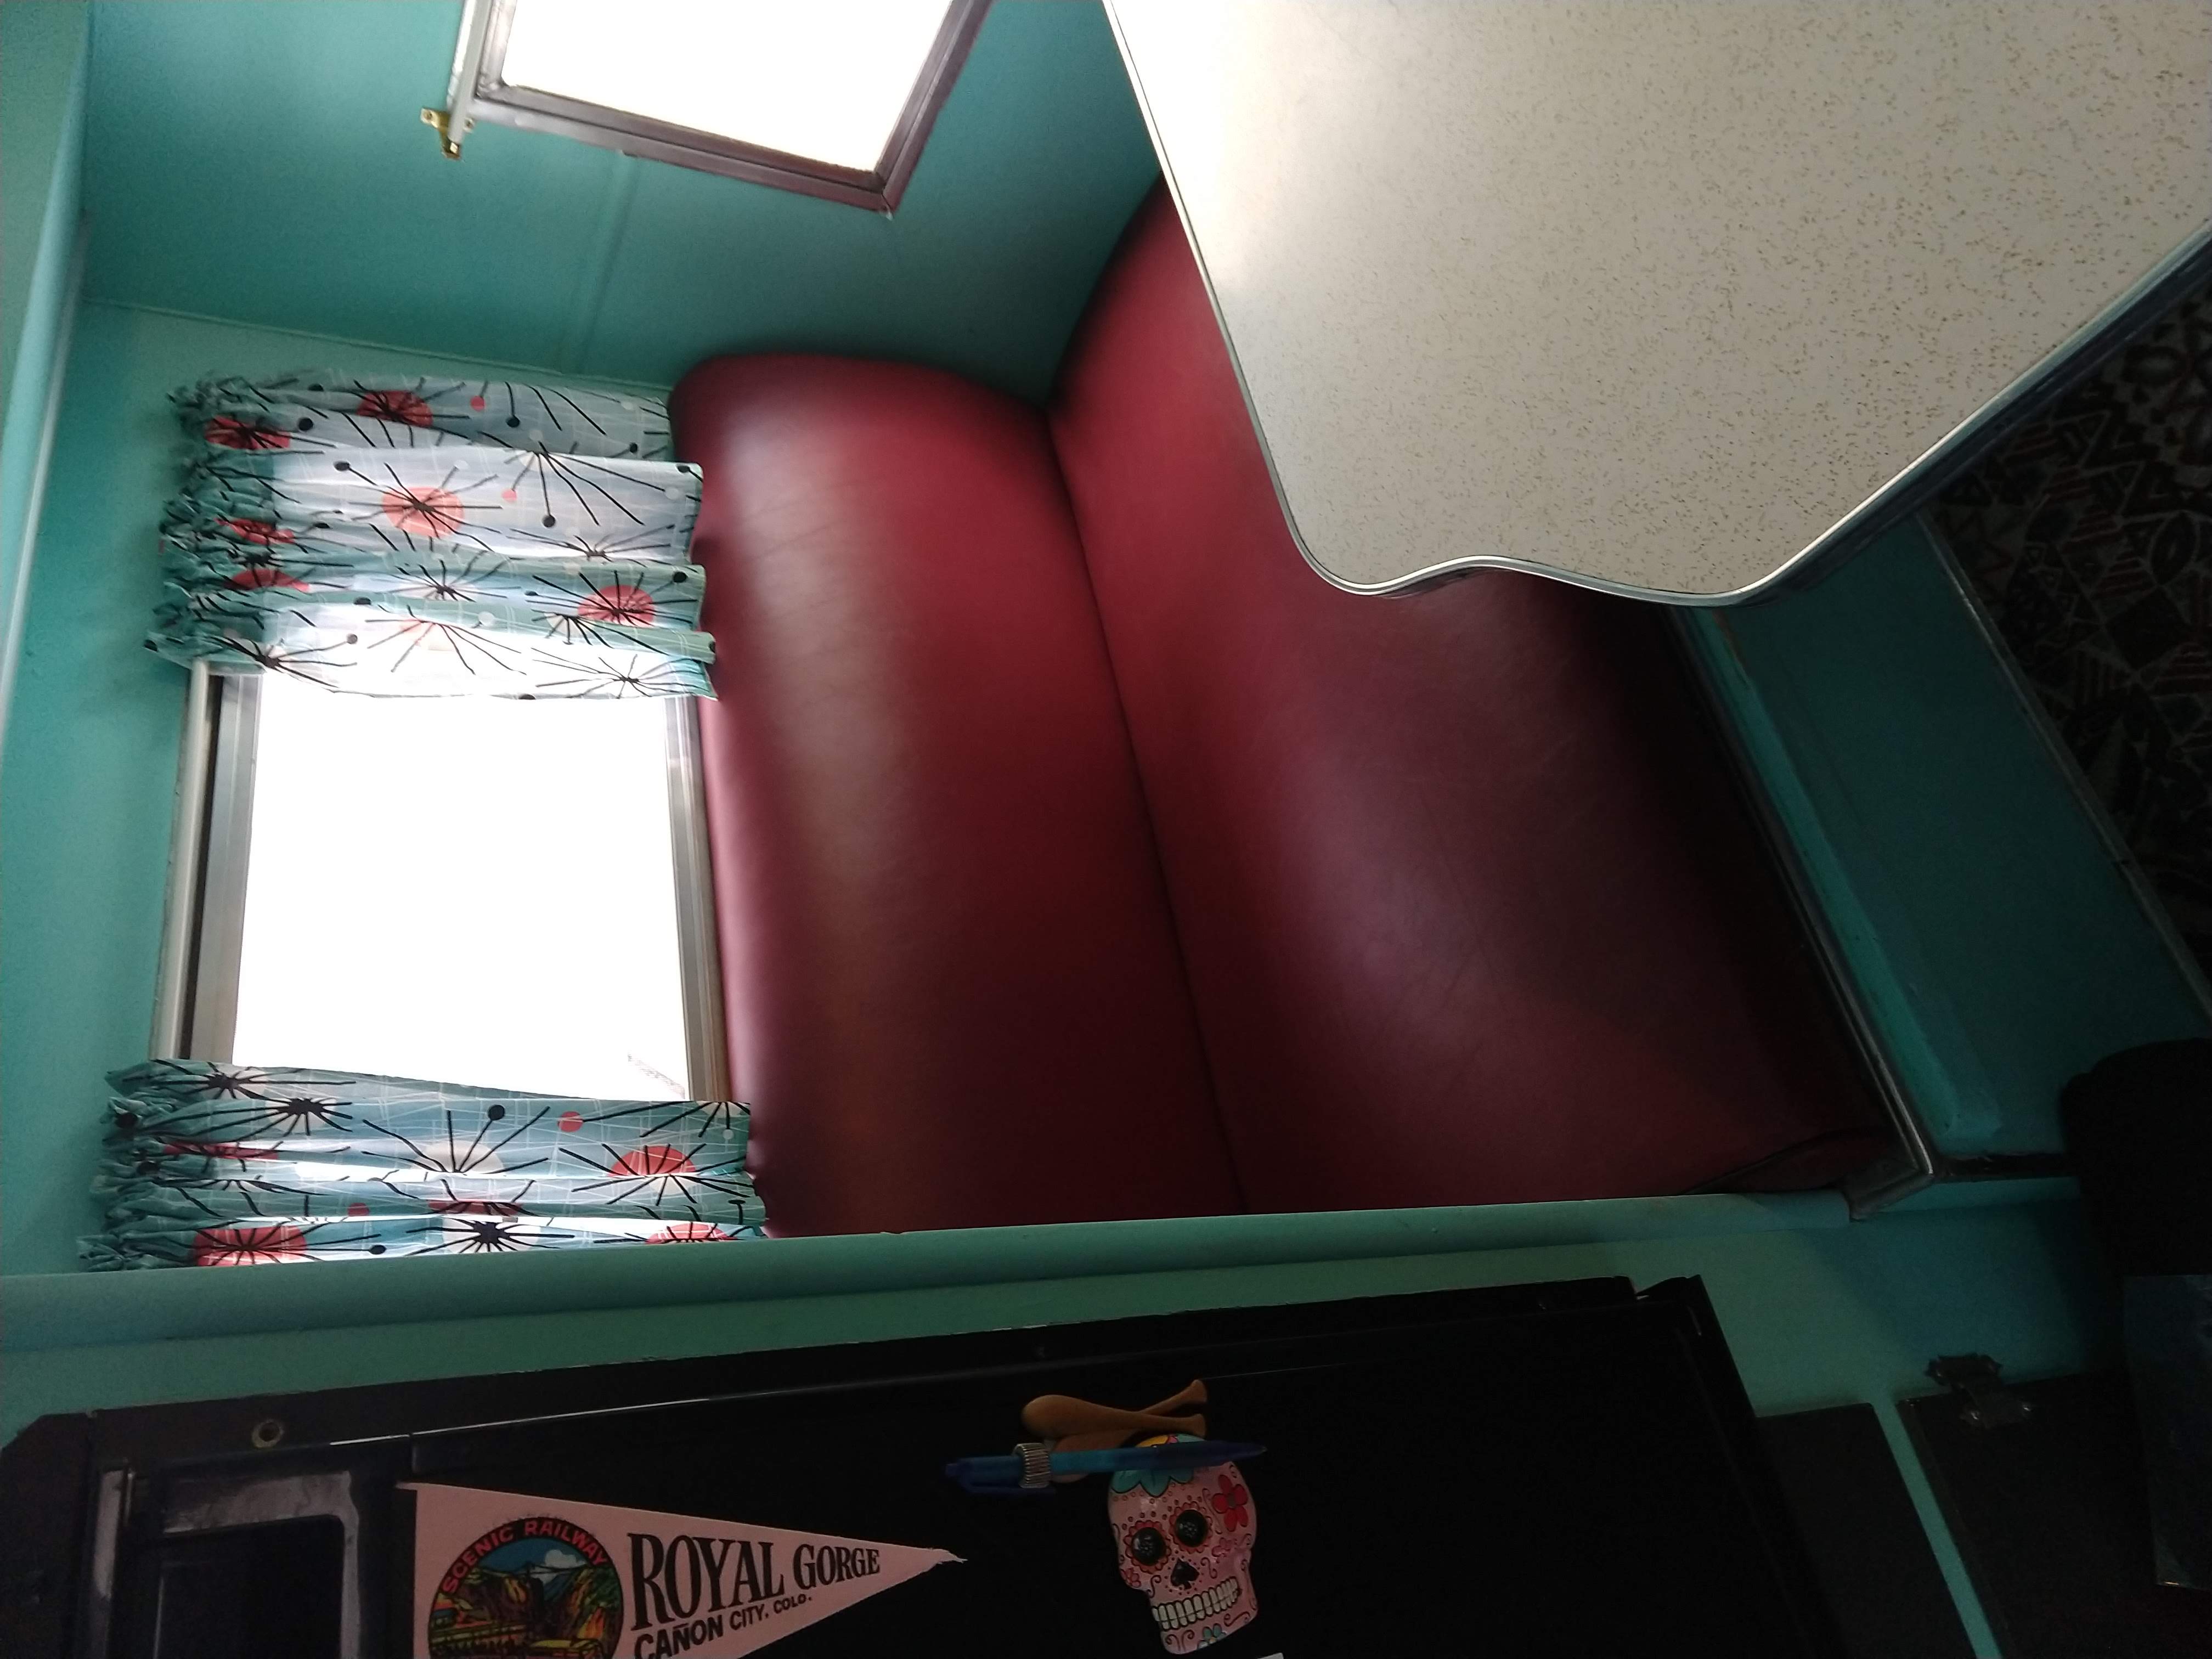
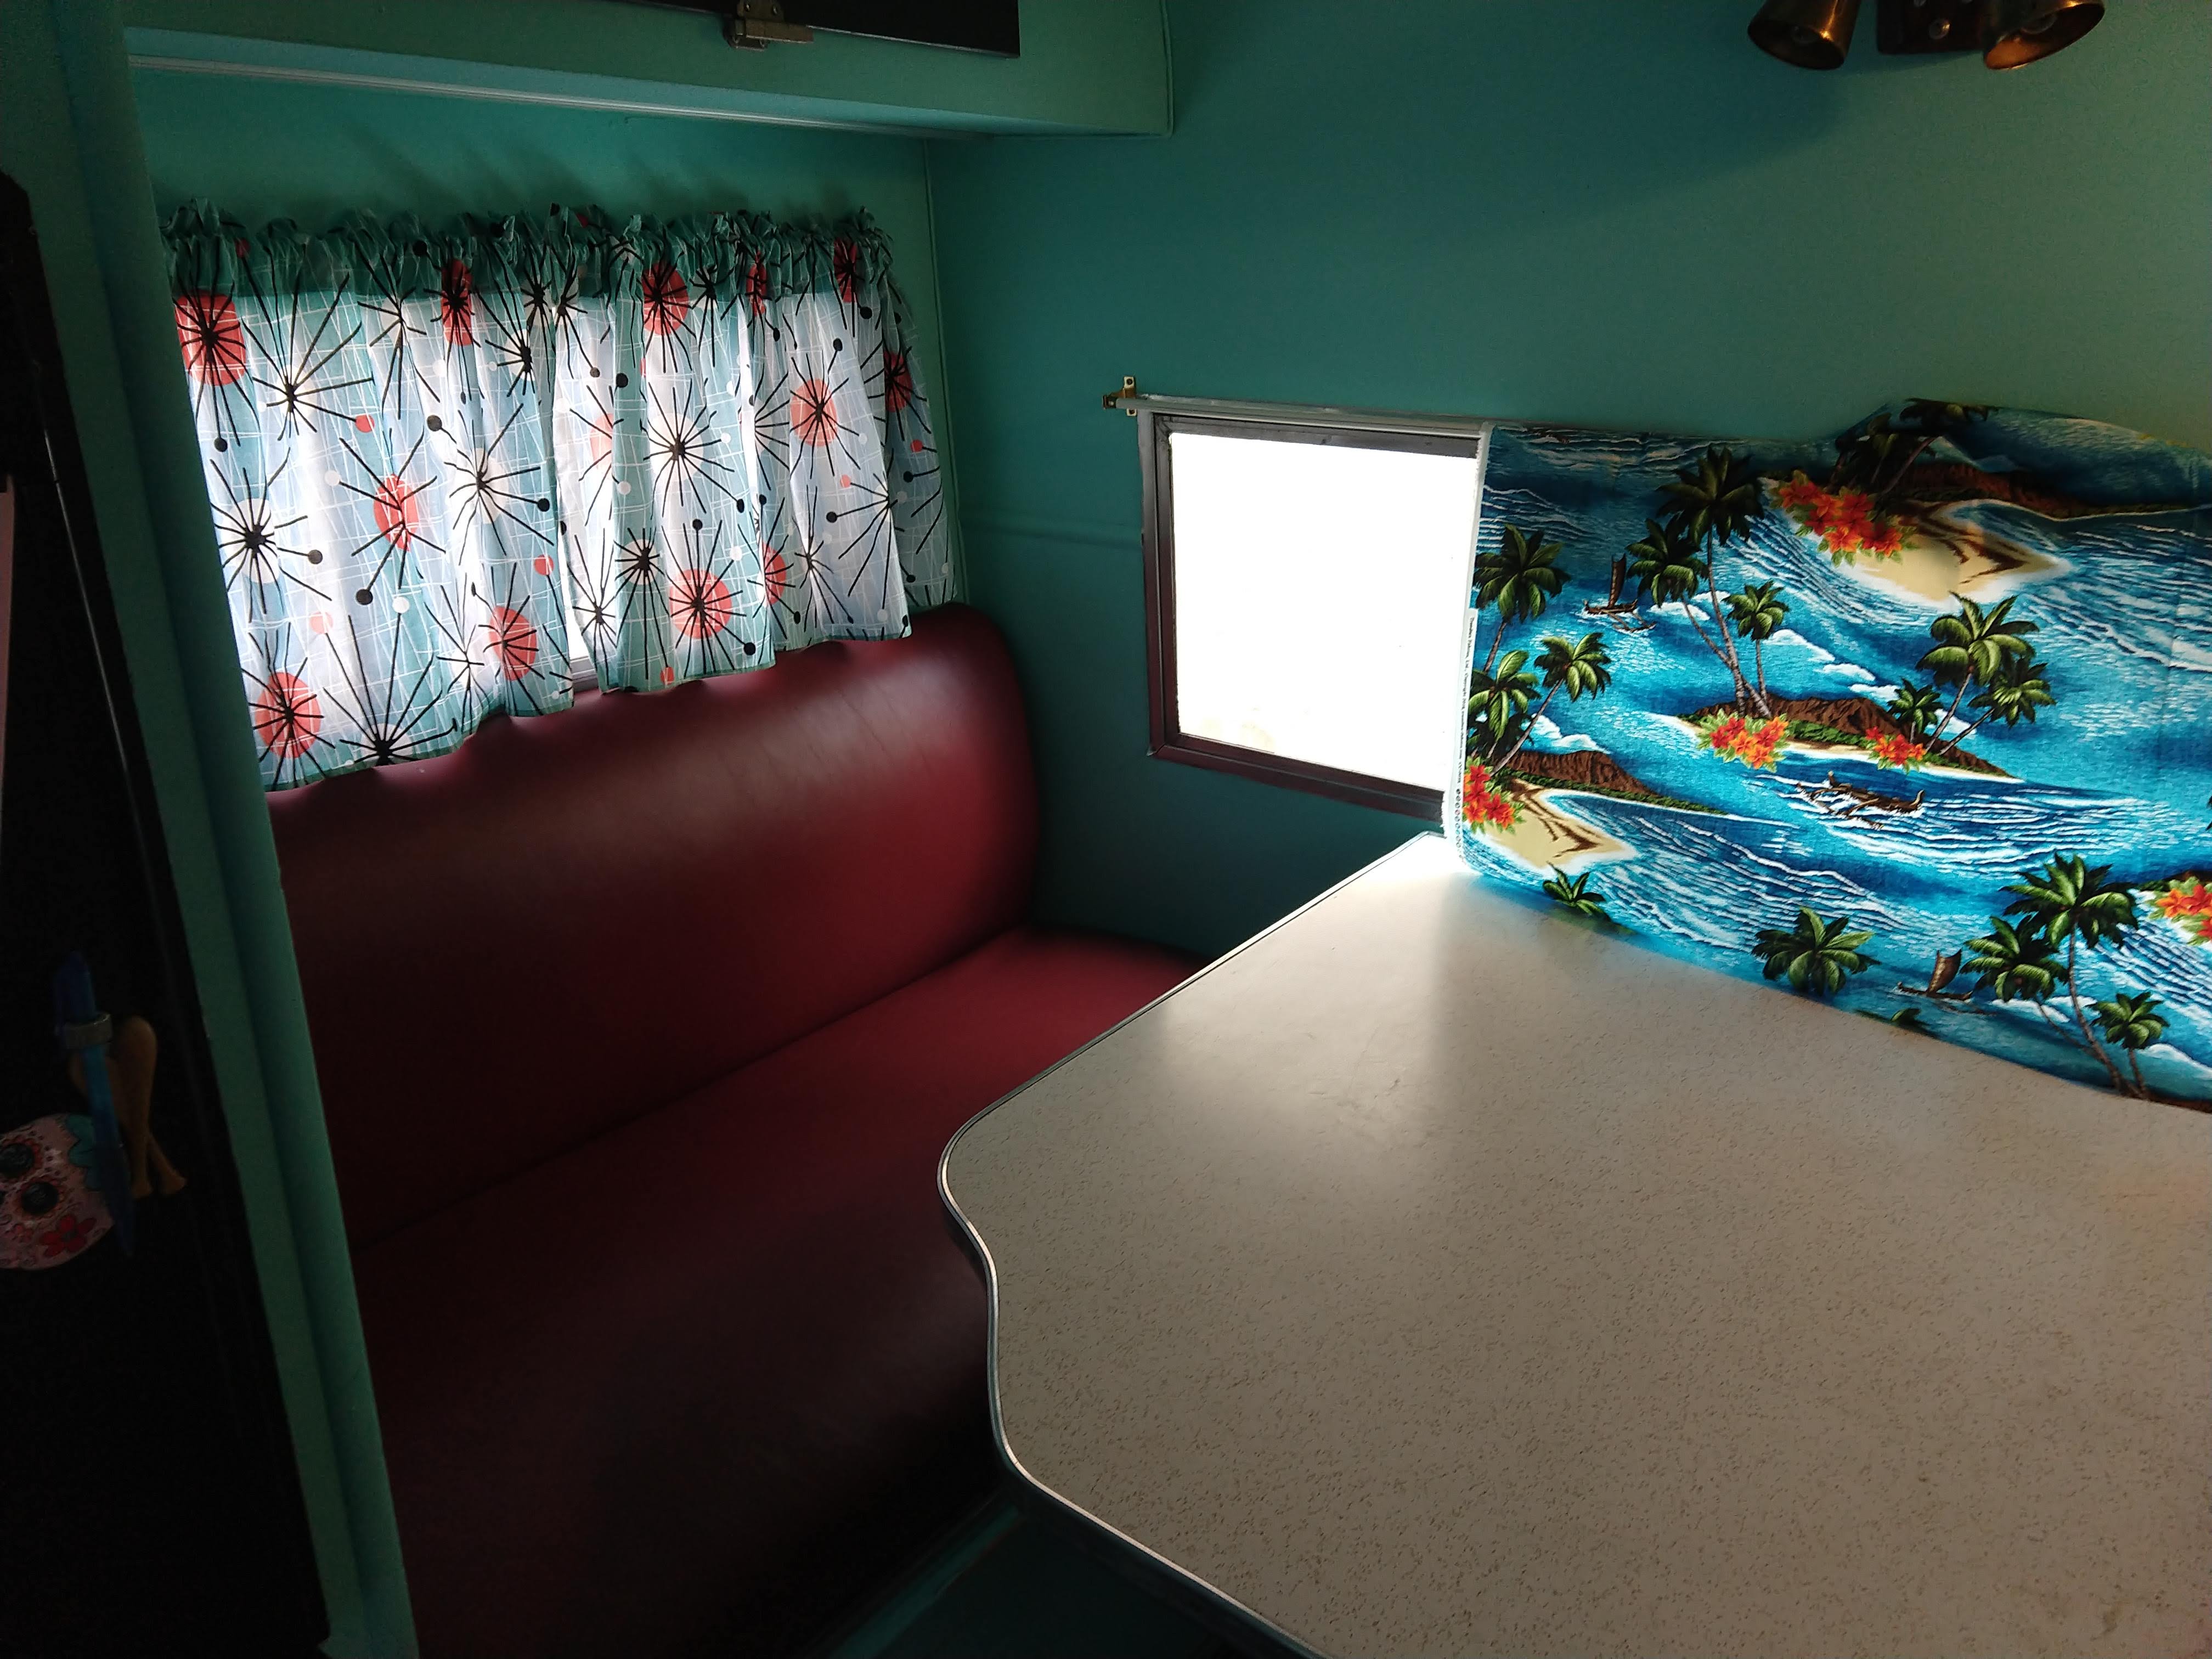
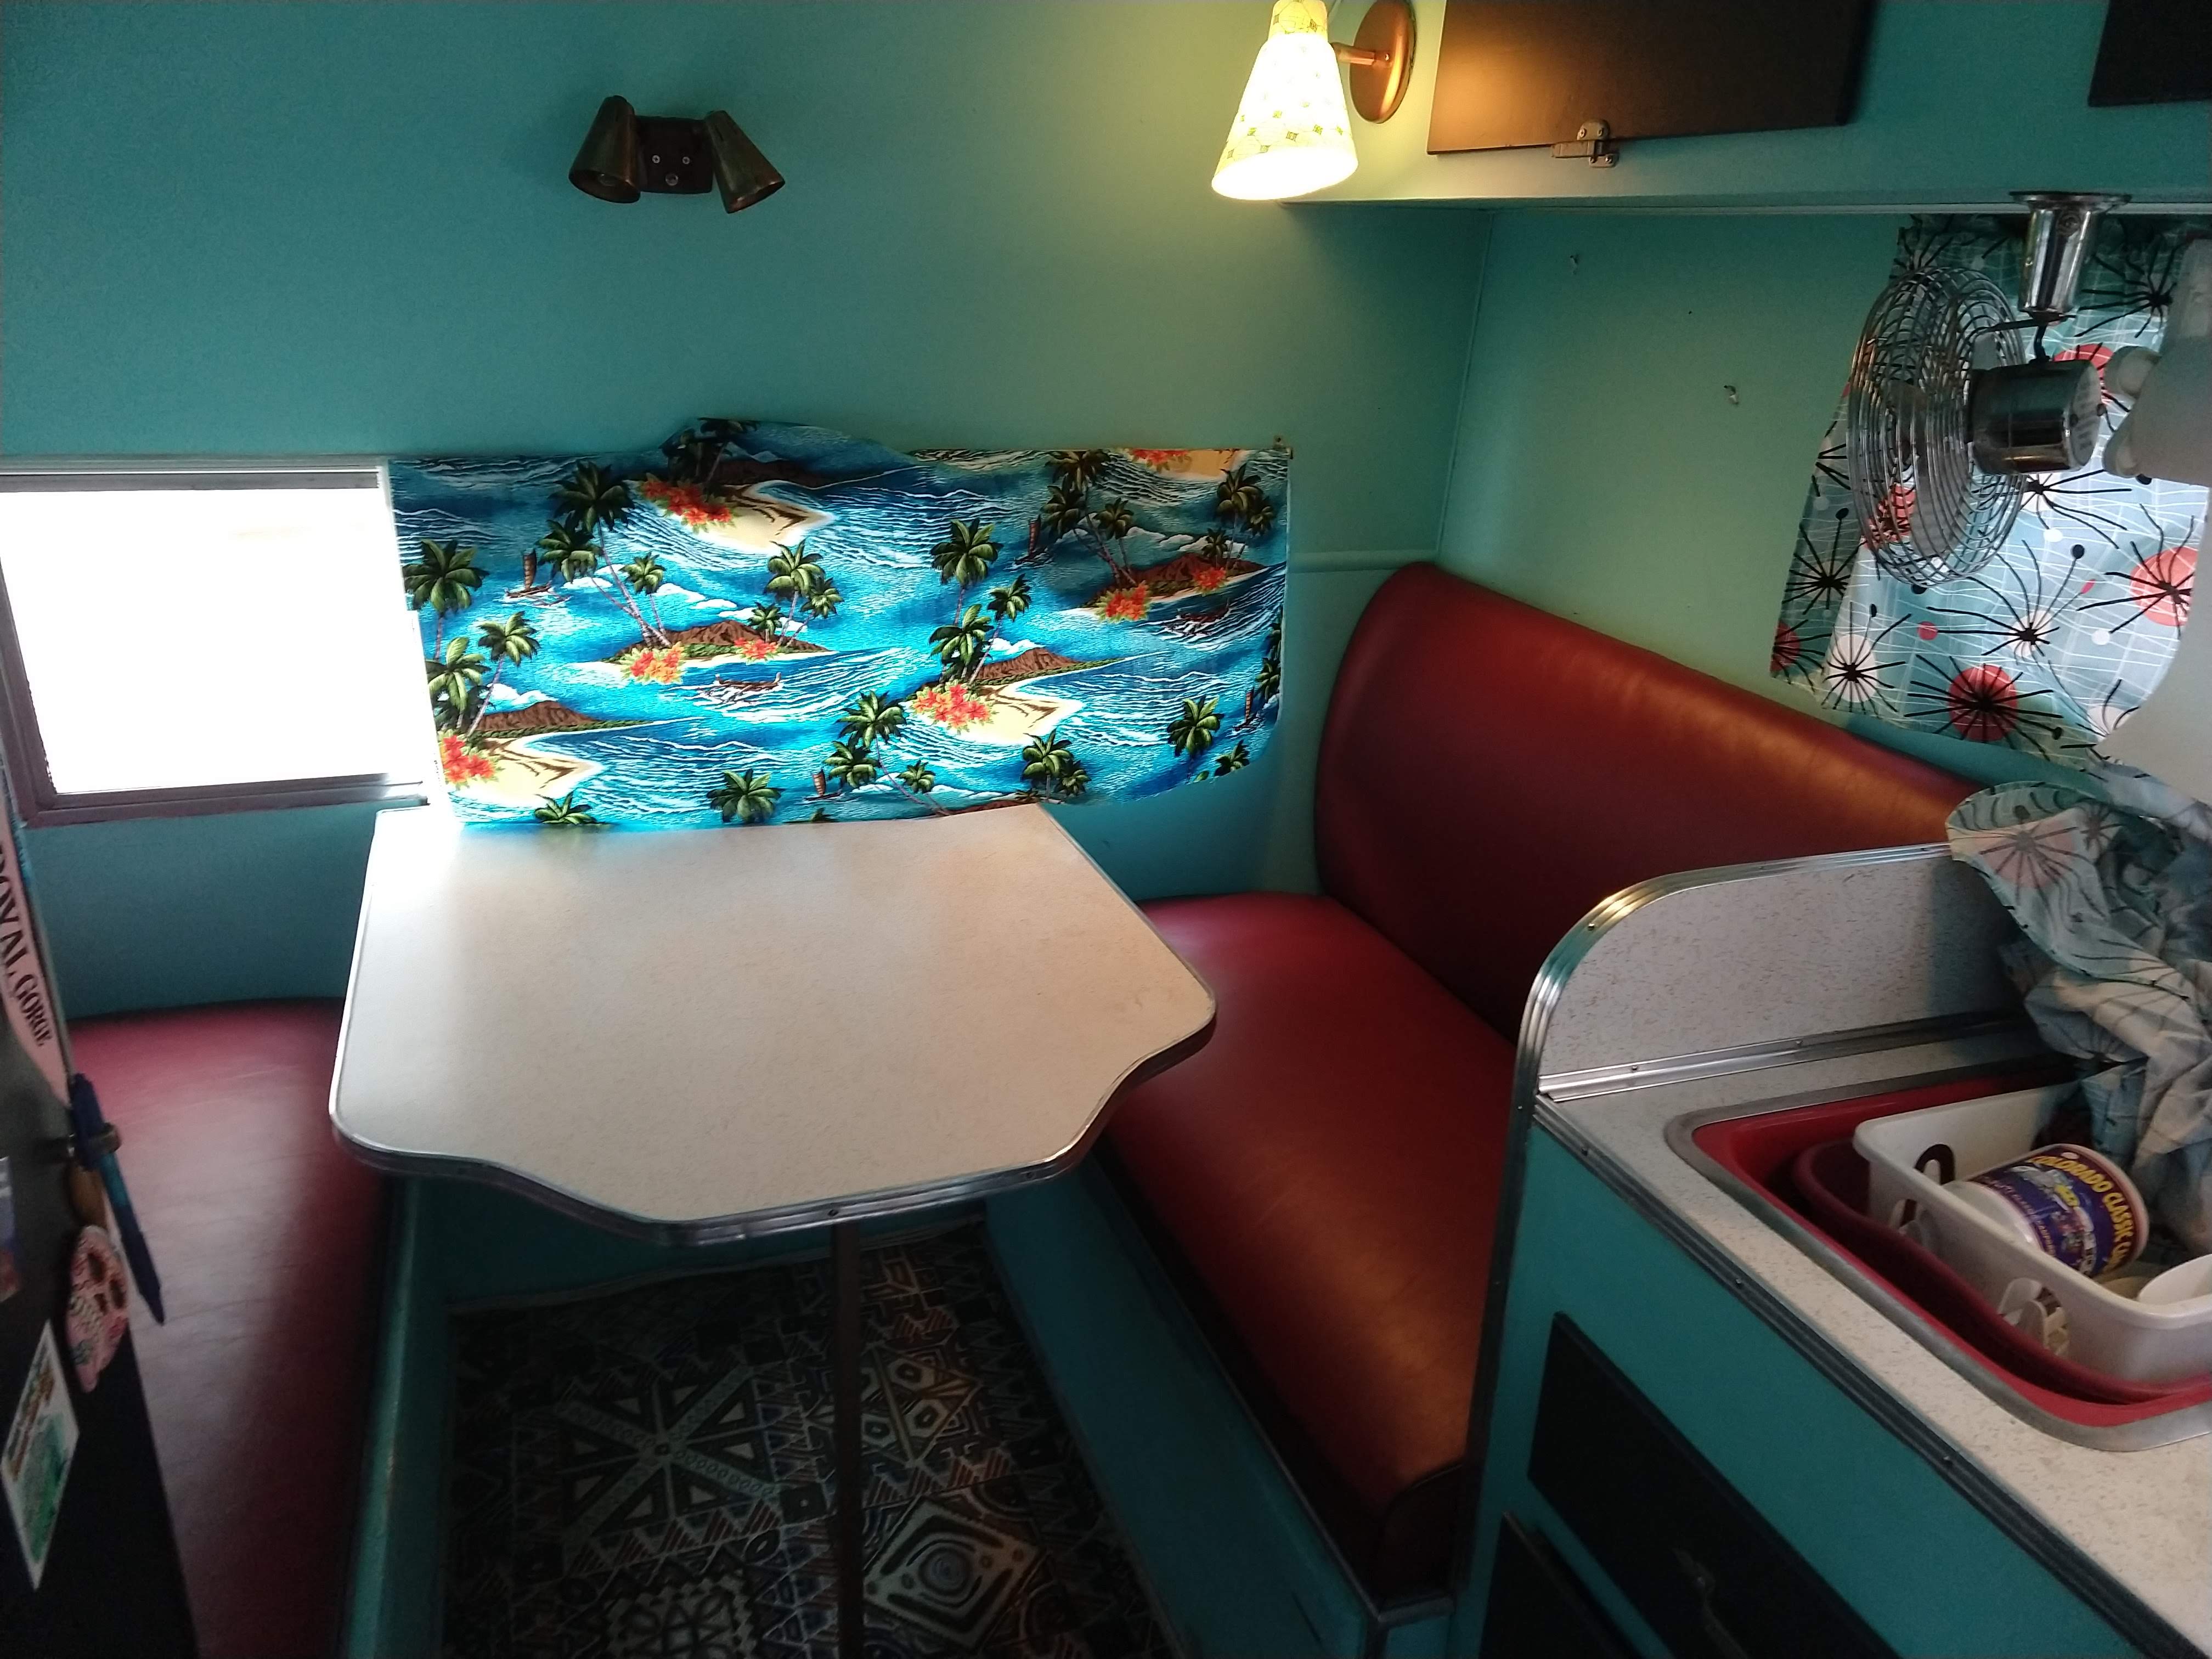
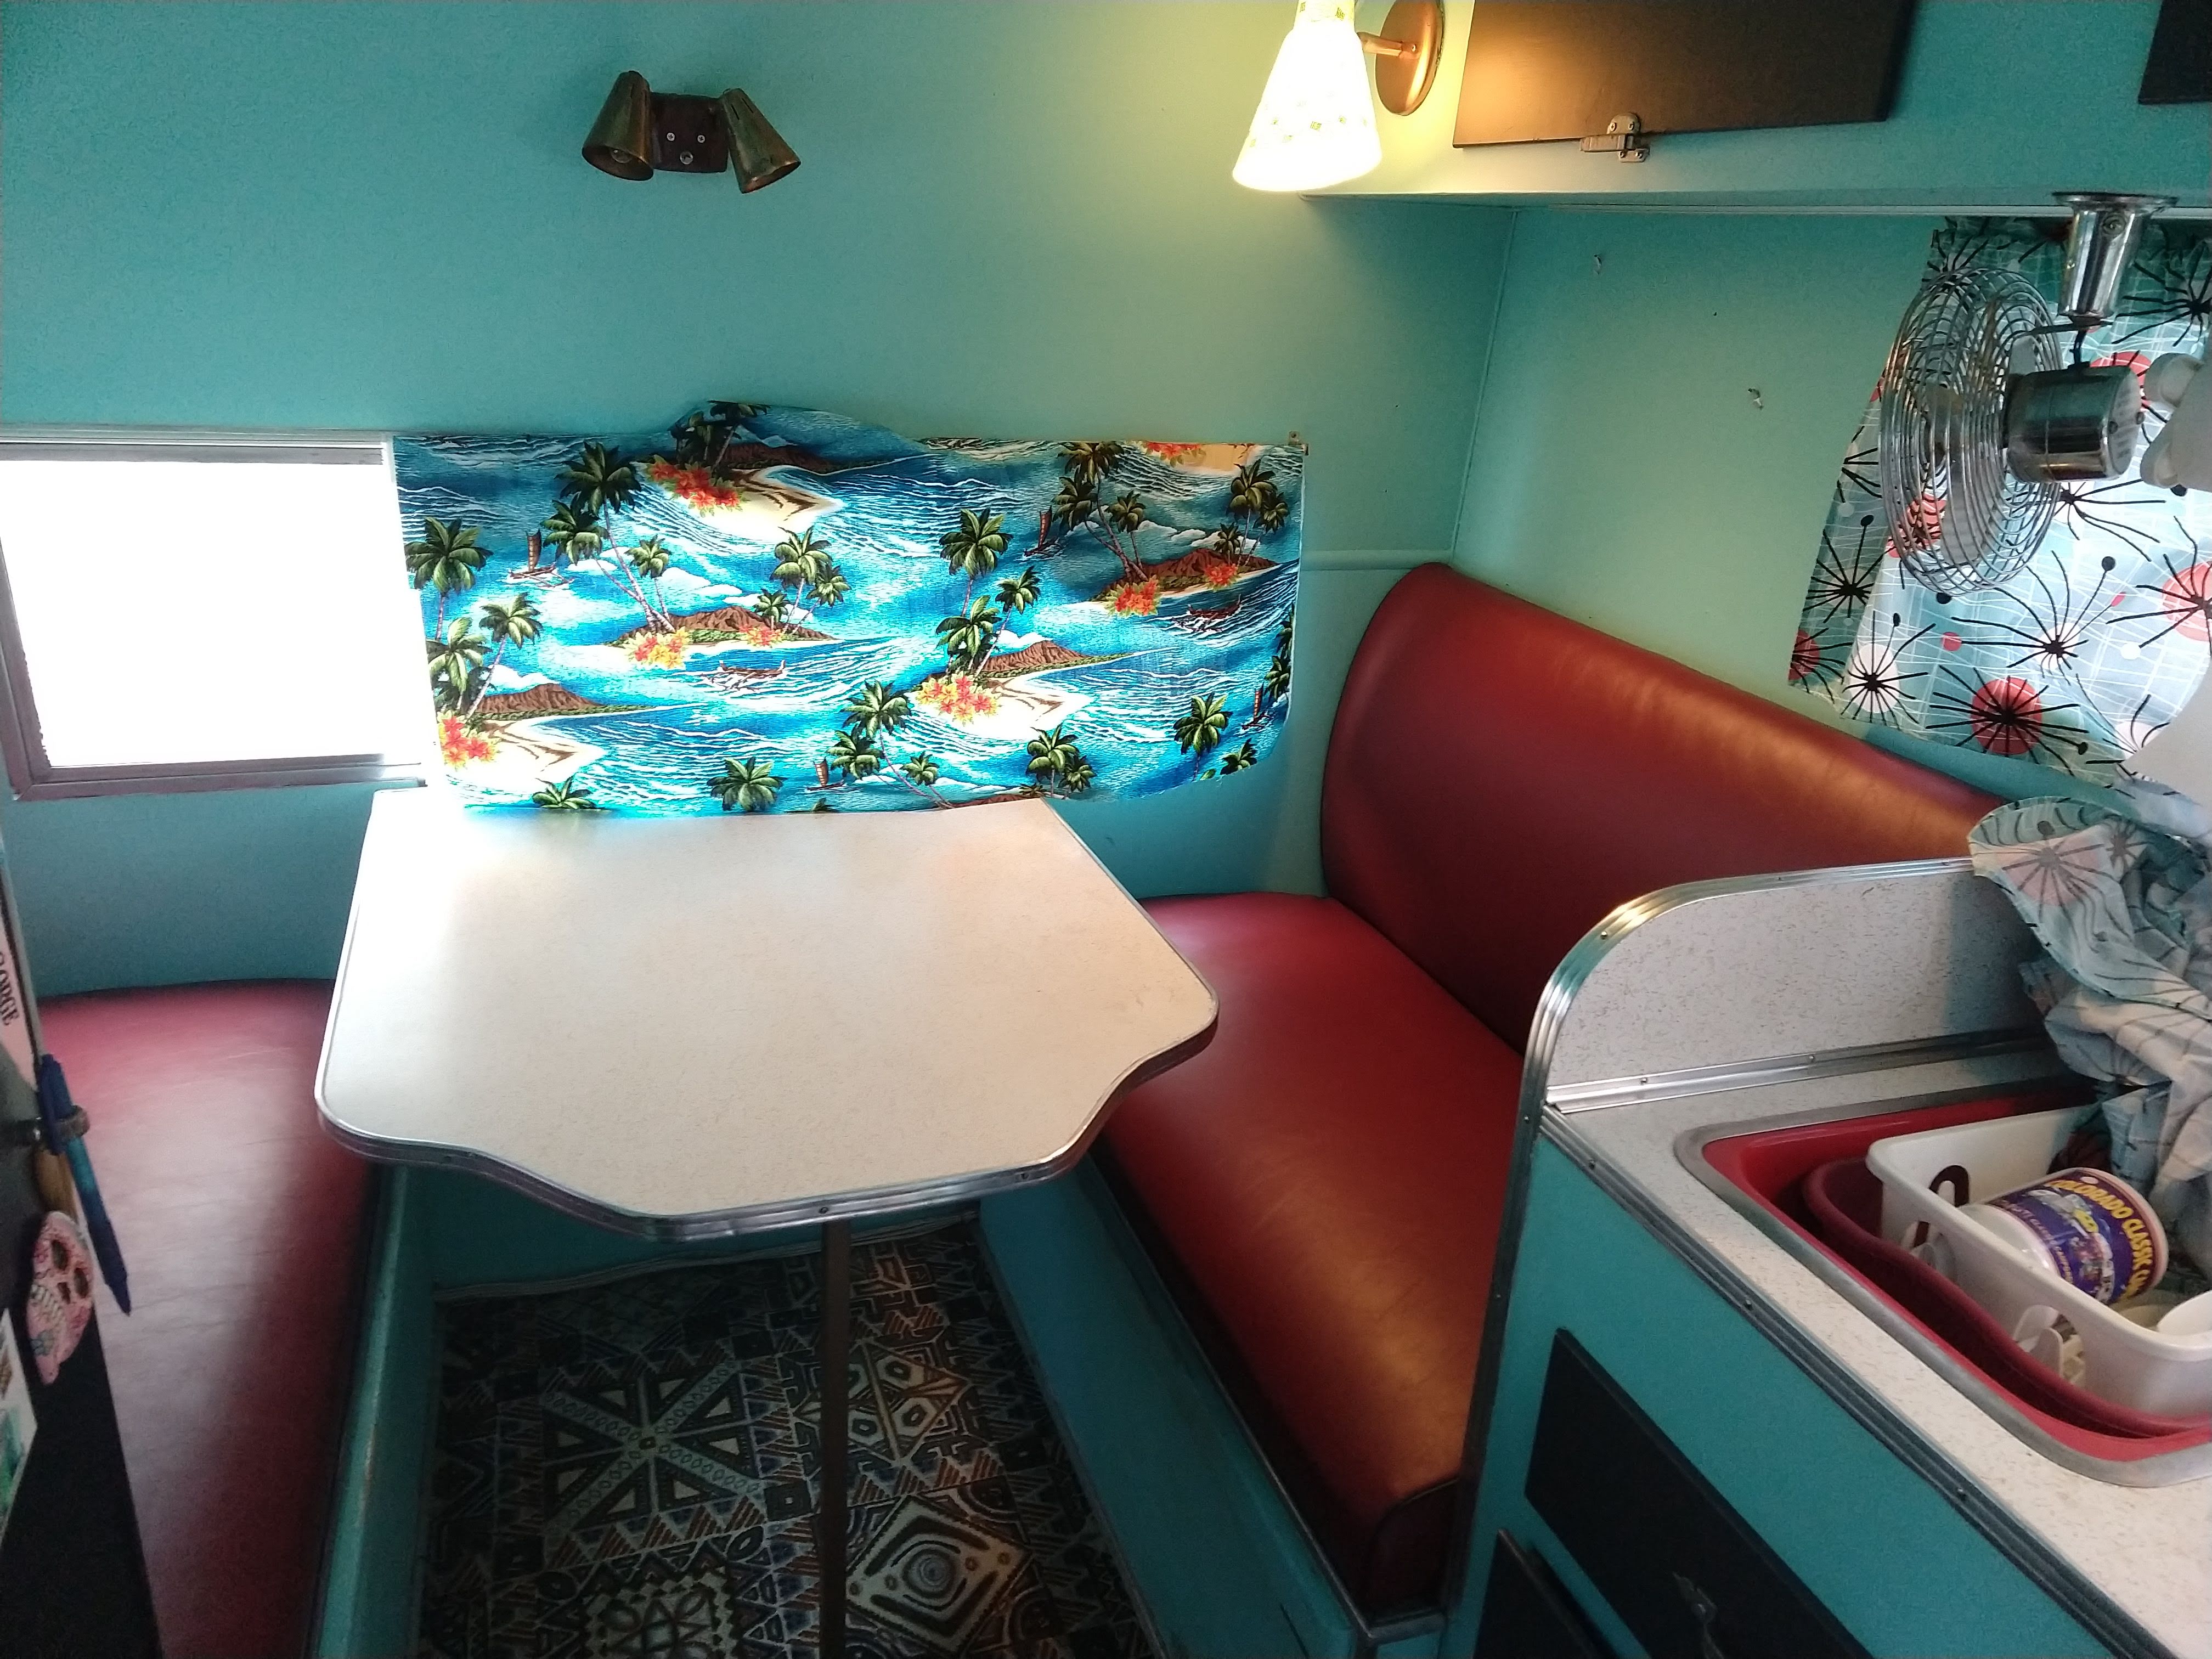
Then I mounted them in place. I think they look great. Now it’s time to breaker them in!
]]>