The height adjustment for the great dale has always been maxed out from the day we bought it, but we never did anything about it because I always thought that replacing the torsion bars was going to be really expensive and hard to do. Turns out it should be really easy, so I decided that replacing the torsion bars would be the big Great Dale project for the year.
The guy who helped me with the brakes last year recommended I contact Firm Feel and they recommended replacing the stock 0.88″ diameter torsion bars with some 1.12″ racing bars because of the weight. I took his suggestion and started researching how to get the old ones off. This post (https://www.racingjunk.com/news/how-to-adjust-mopar-torsion-bars/) perfectly described the process so I went to work getting the old bars off.
Turned out to be easy, it was barely an inconvenience. Tapped each side with a hammer, juiced them up with some penetrating oil, and heated each side up a little before clamping my harbor freight vice grips to the bars. There wasn’t a lot of room for the hammer, but they came out pretty easy.
The bars are labelled left and right, so I did some more research to find out that left and right for car parts are determined by sitting in the car and looking left and right. Once that was sorted, I greased up the new bar and inserted into the hole and started tapping the end to push it through. Things were going smoothly until it just stopped a couple of mm shy of where it needed to go. No amount of Hulk-Smash would make it go in any further.
I didn’t know what the problem was, so I decided to try the other side to see what I did wrong. I thought the first one might not have been aligned correctly, so I asked Lina for help on the second one. It did seem that the bar wasn’t wasn’t quite aligned properly, so I adjusted the lower control arm side until it seemed to align perfectly. In went in like butter and was actually a little too far in.
So I went back to the first one and tried to knock it back out so I could try the alignment trick. IT WOULD NOT BUDGE! I went to Harbor Freight to get a bigger vice grip that didn’t help at all. Then I kludged together a clamping system using U-bolts and aluminum angle iron, but that didn’t help either. I was starting to panic.
I had to wait until Monday to contact Firm Feel, who said that the problem might be that there was too much powder coating on the ends and that I just had to beat on it harder to get it out, sand the ends, and then put it back in.
They make specialized torsion bar removal tools like this one:
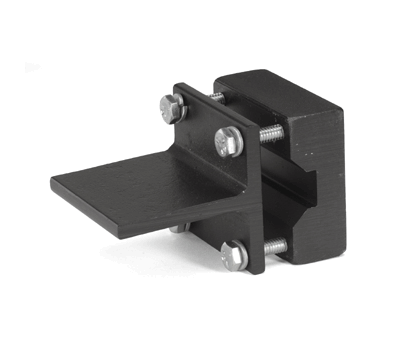
But I was a little scared that this would never come free and didn’t want to wait another week, so I made my own.
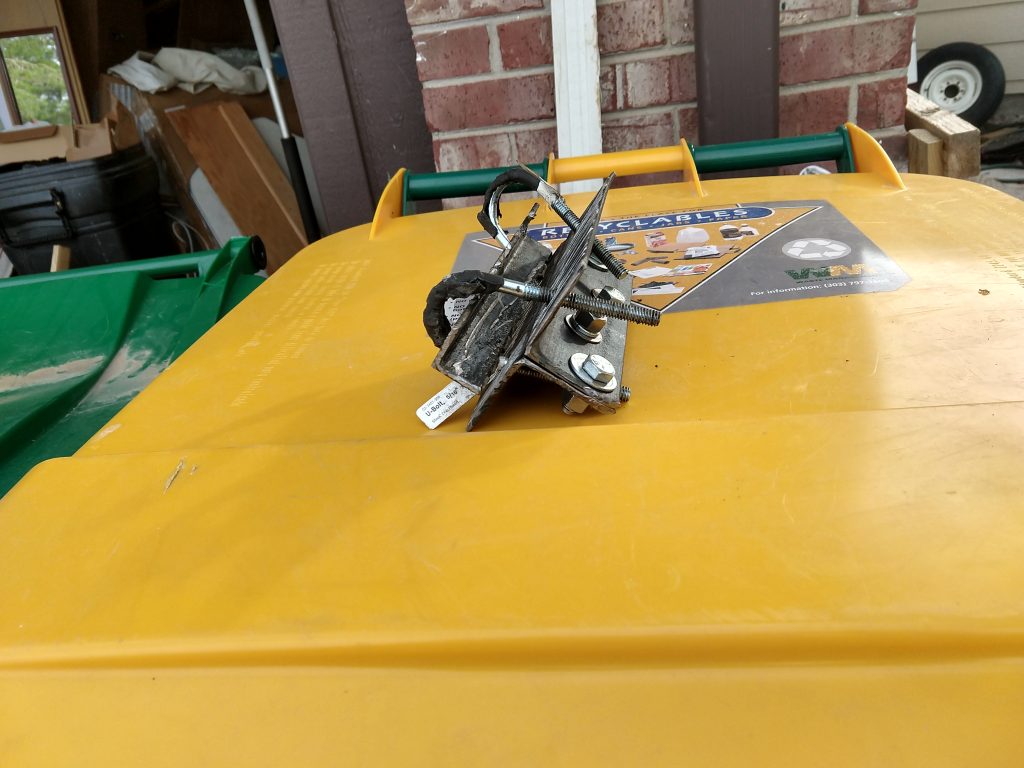

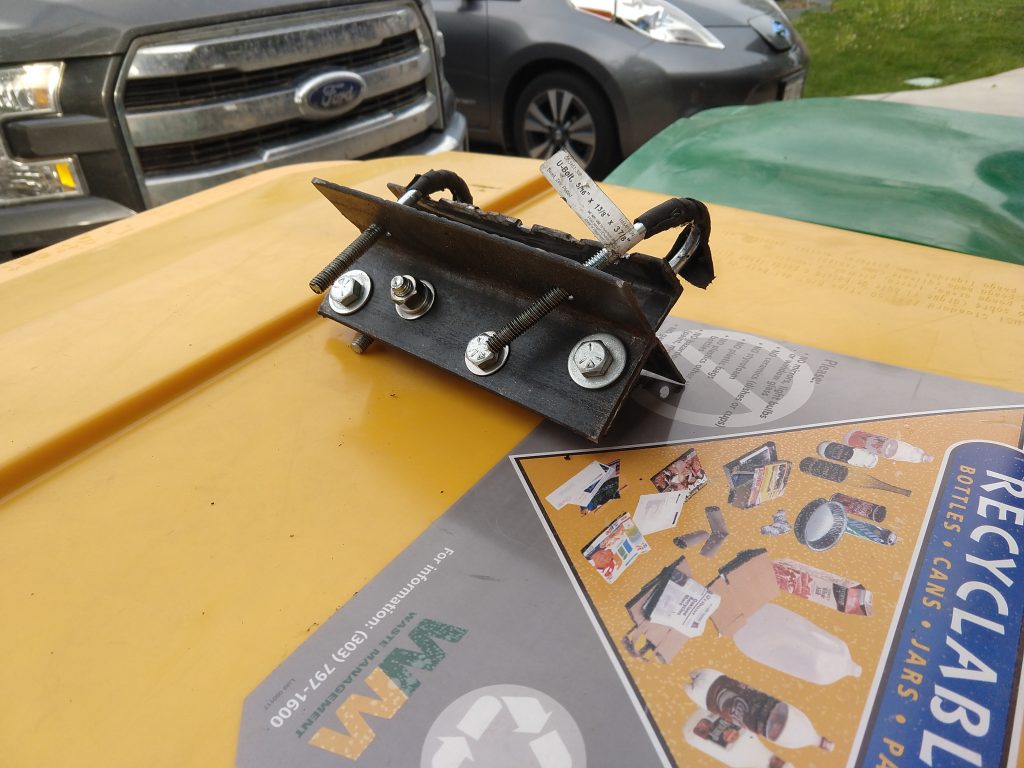

And it worked like a charm! I was able to get the bar out and then I sanded the edges:
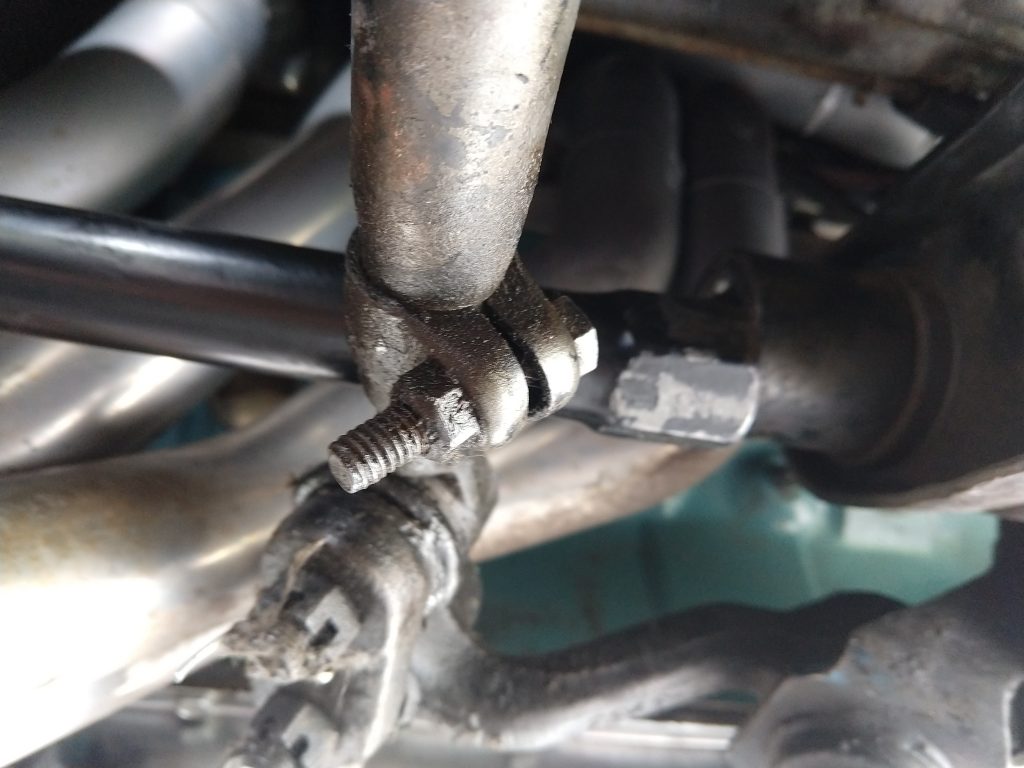

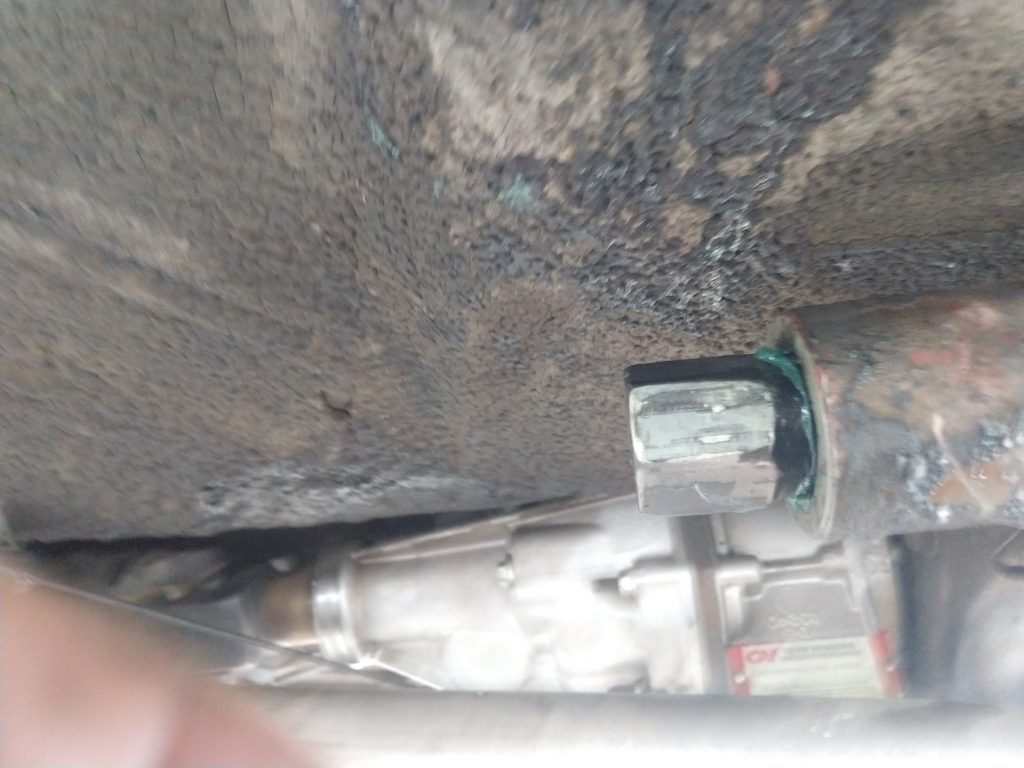
I greased up the ends and they went in like butter.
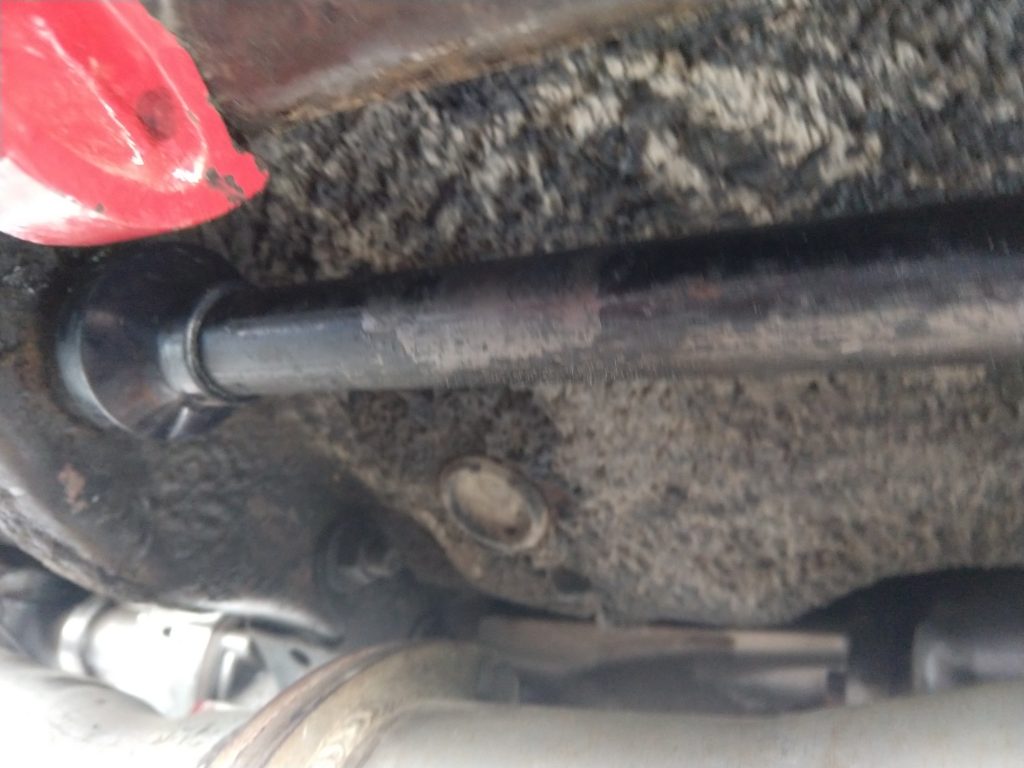
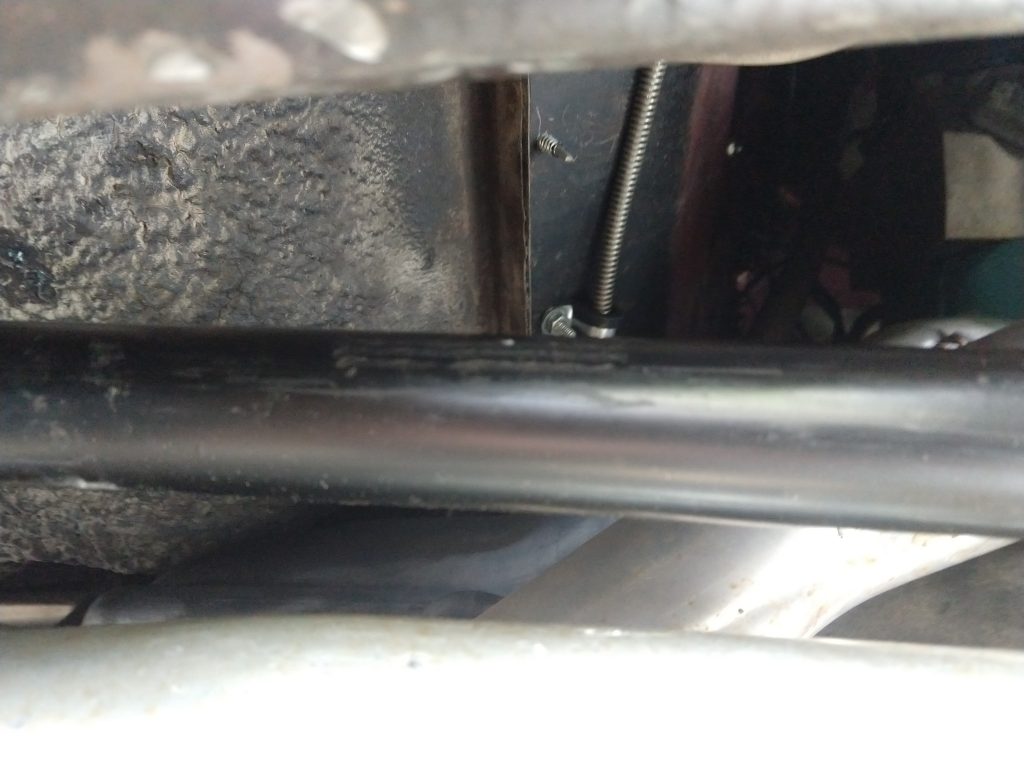

We were able to raise the front end an inch and it hasn’t bottomed-out on the speed bumps and dips in the neighborhood. It also doesn’t bottom out coming on and off the driveway’s California curb, so it seems to be working great!